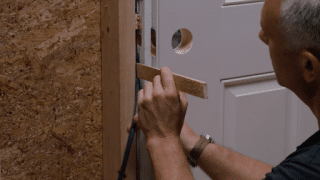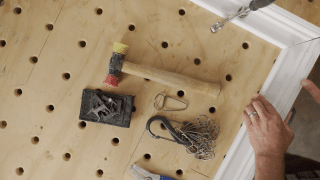
“When you put a coped joint into the corner, it gives you a couple of degrees of tolerance— meaning if your wall is not 90 degrees, a cope will still look good and be a tight joint.” -Aaron Butt
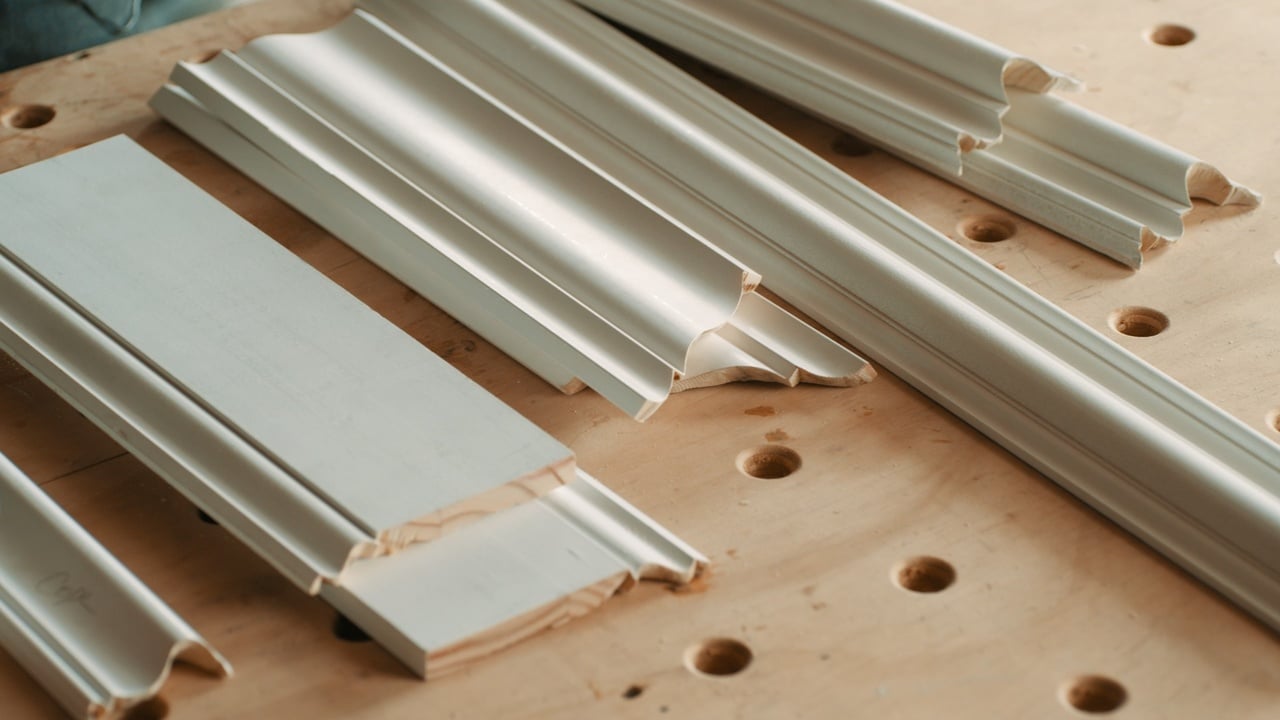
A coped joint is used to join inside corners of crown moulding. A coped piece of trim is cut so that the profile on one end fits against the other piece snugly. These pieces fit together like a puzzle, allowing for a tight fitting joint even if the corner is not a perfect 90 degrees or if the ceiling is not completely level to the wall.
Coping a corner will ensure a tight fit with out of square corners and ceilings. The ability to hide irregularities and join corners quickly is why most professional builders cope crown moulding over mitering inside corners.
Coping crown moulding can seem like a daunting task, but rest assured—it’s a carpentry task you can master. Read on to learn how to cope crown moulding like a professional, as taught by professional carpenter Aaron Butt in his MT Copeland online course Coping Crown Moulding and Trim.
Choosing between coped and mitered joints
“Basically the difference between an inside miter and a cope joint is that an inside miter are two pieces that bisect the inside corner of a wall, where a cope joint is more like a puzzle piece in that one side of the joint is scribed to the other.” -Aaron Butt
A mitered corner uses two pieces of moulding cut at 45 degrees. These angled miter cuts meet to form a perfect 90 degree joint. When cutting miters for inside corners the moulding needs to be cut at exactly the right length and angle.
There is little room for error when making a miter joint, and walls in older buildings are very rarely perfect. A mitered cut that is too long will stick into the drywall and if it is cut too short, an entirely new piece of moulding is needed. Coping is fast, flexible and ensures that each corner joins securely and beautifully.
How to cope a joint
Tools needed:
- Power miter saw
- Coping saw
- Rasp, file, or sandpaper
- Pencil
- Protective eyewear
Step 1: Make a butt cut
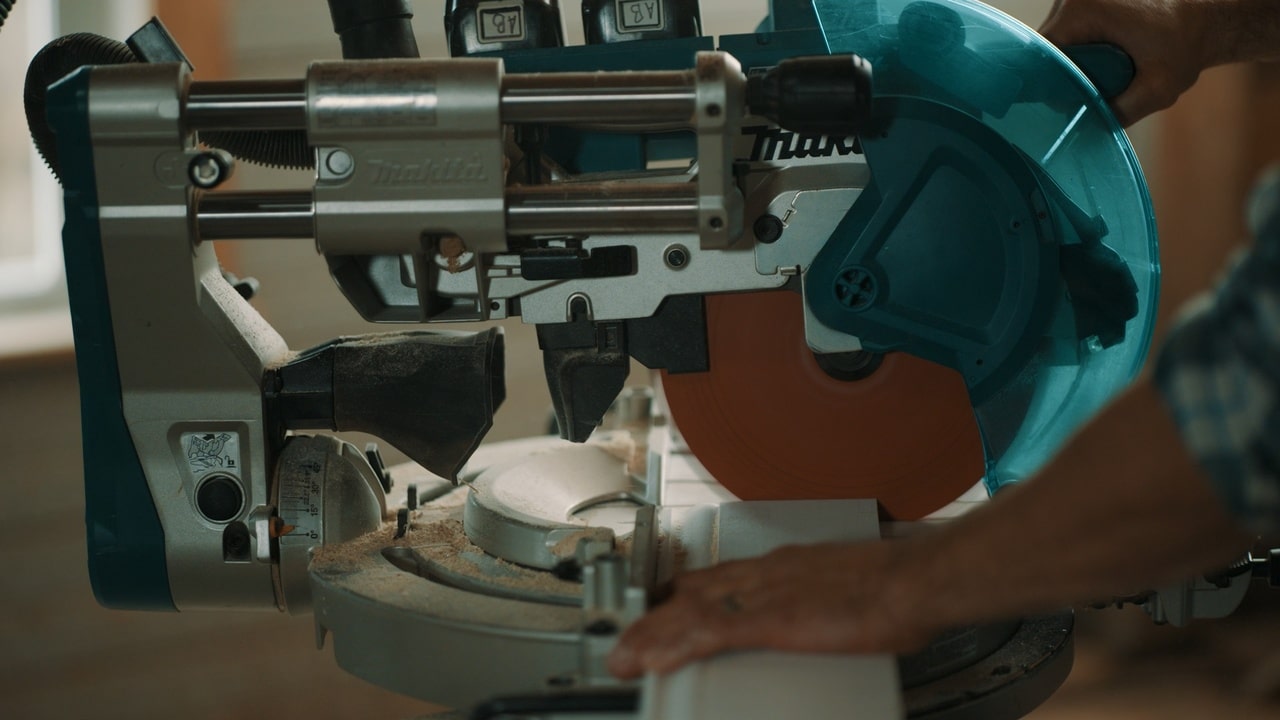
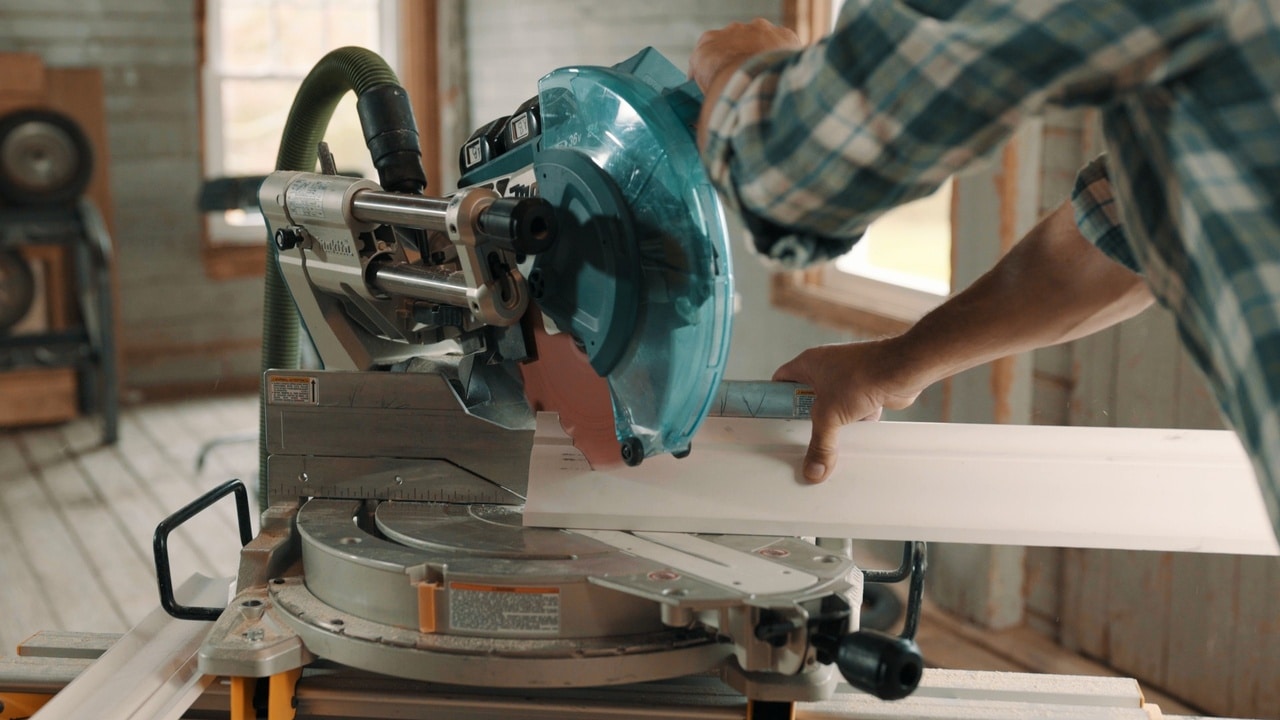
Using your miter saw set at 90 degrees, take one piece of the crown moulding and make a square cut so that the trim butts up against the wall. A square, or butt cut, is moulding that is cut straight so that it is flush to the wall. The other piece of the corner will be coped to fit this piece.
Step 2: Make a miter cut
Take the other piece and make an inside miter cut at 45 degrees. When making this initial miter cut, it is best to leave an extra couple inches on the moulding and cut it to length when the coping is complete.
Step 3: Highlight the edge
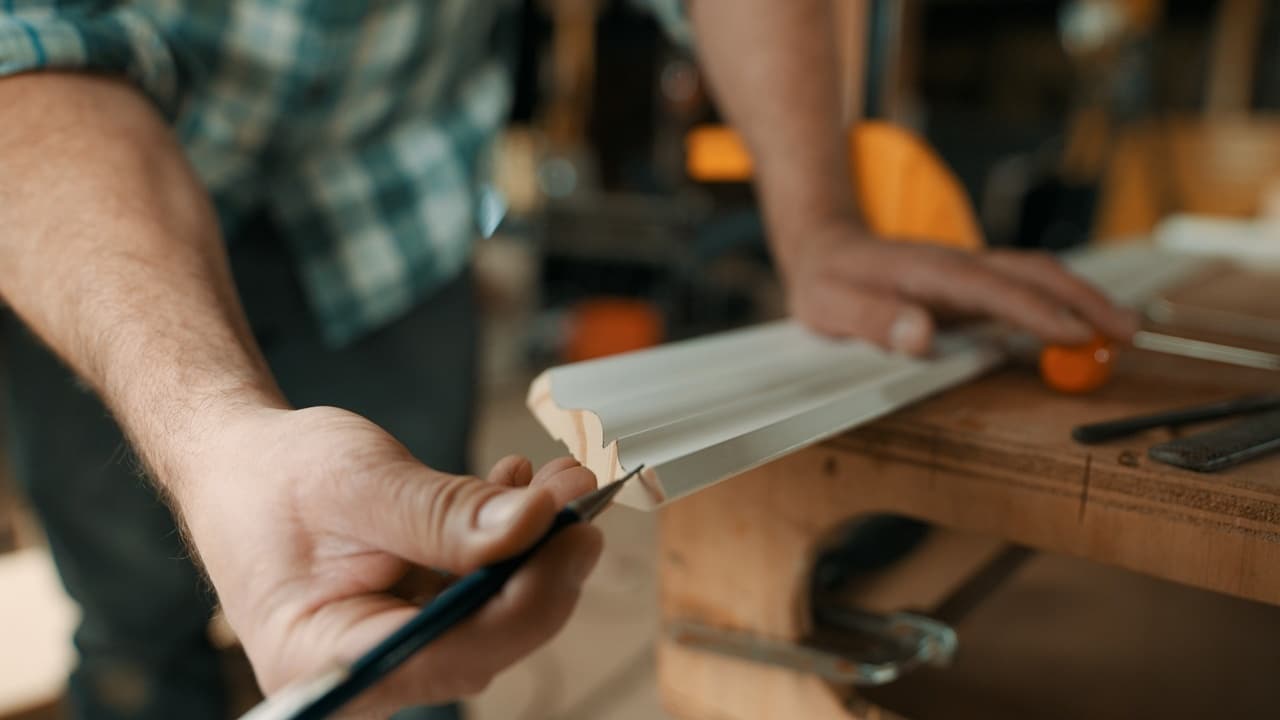
Take your cut piece of moulding and darken the profile of the leading edge of the moulding with a pencil. This will be the guideline when making the cope cut along the miter.
“When you put a coped joint into the corner, it gives you a couple of degrees of tolerance— meaning if your wall is not 90 degrees, a cope will still look good and be a tight joint.” -Aaron Butt
A coped joint is used to join inside corners of crown moulding. A coped piece of trim is cut so that the profile on one end fits against the other piece snugly. These pieces fit together like a puzzle, allowing for a tight fitting joint even if the corner is not a perfect 90 degrees or if the ceiling is not completely level to the wall.
Coping a corner will ensure a tight fit with out of square corners and ceilings. The ability to hide irregularities and join corners quickly is why most professional builders cope crown moulding over mitering inside corners.
Coping crown moulding can seem like a daunting task, but rest assured—it’s a carpentry task you can master. Read on to learn how to cope crown moulding like a professional, as taught by professional carpenter Aaron Butt in his MT Copeland online course Coping Crown Moulding and Trim.
Choosing between coped and mitered joints
“Basically the difference between an inside miter and a cope joint is that an inside miter are two pieces that bisect the inside corner of a wall, where a cope joint is more like a puzzle piece in that one side of the joint is scribed to the other.” -Aaron Butt
A mitered corner uses two pieces of moulding cut at 45 degrees. These angled miter cuts meet to form a perfect 90 degree joint. When cutting miters for inside corners the moulding needs to be cut at exactly the right length and angle.
There is little room for error when making a miter joint, and walls in older buildings are very rarely perfect. A mitered cut that is too long will stick into the drywall and if it is cut too short, an entirely new piece of moulding is needed. Coping is fast, flexible and ensures that each corner joins securely and beautifully.
How to cope a joint
Tools needed:
- Power miter saw
- Coping saw
- Rasp, file, or sandpaper
- Pencil
- Protective eyewear
Step 1: Make a butt cut
Using your miter saw set at 90 degrees, take one piece of the crown moulding and make a square cut so that the trim butts up against the wall. A square, or butt cut, is moulding that is cut straight so that it is flush to the wall. The other piece of the corner will be coped to fit this piece.

Step 2: Make a miter cut
Take the other piece and make an inside miter cut at 45 degrees. When making this initial miter cut, it is best to leave an extra couple inches on the moulding and cut it to length when the coping is complete.

Step 3: Highlight the edge
Take your cut piece of moulding and darken the profile of the leading edge of the moulding with a pencil. This will be the guideline when making the cope cut along the miter.
Step 4: Make the coping cut
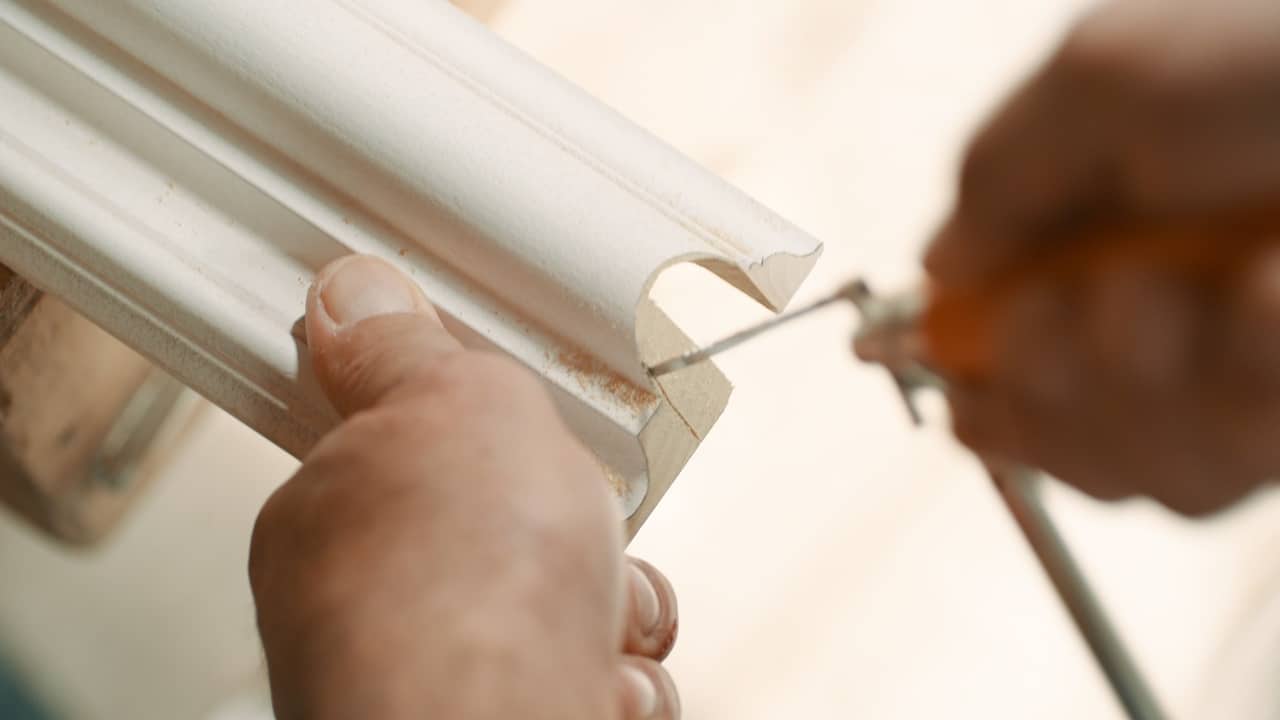
Use a coping saw with a sharp blade and cut along the darkened edge of the profile angling the blade to remove more of the wood from the back rather than the front of the moulding.
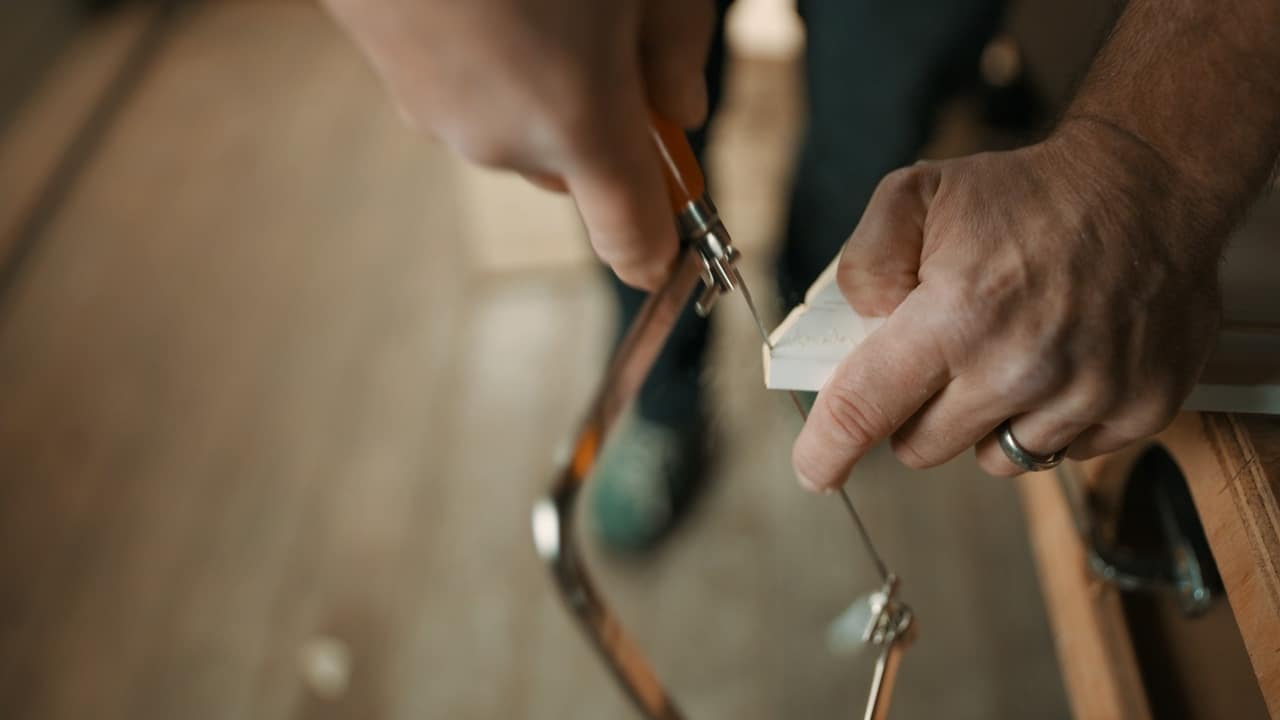
Tip: Due to the ornate and often curved nature of crown moulding, making relief cuts before beginning to cope will help make cutting turns and sharp corners easier and more precise.
Relief cuts are preparatory, short straight cuts at right angles to curved profiles that prevent the saw from sticking when cutting the curve.
Step 5: Make the final adjustments
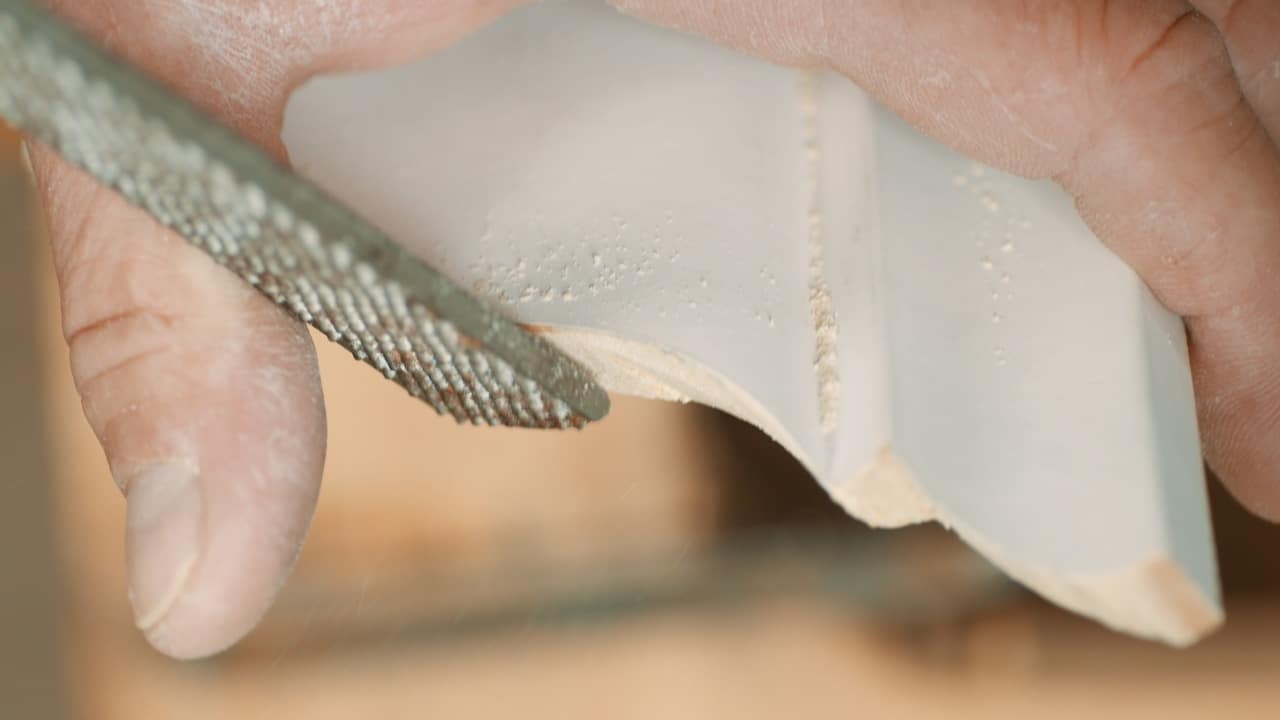
Use a rasp, file, or sandpaper to clean up the cut and smooth out the rough edges for a perfect fit.
Step 6: Install the moulding
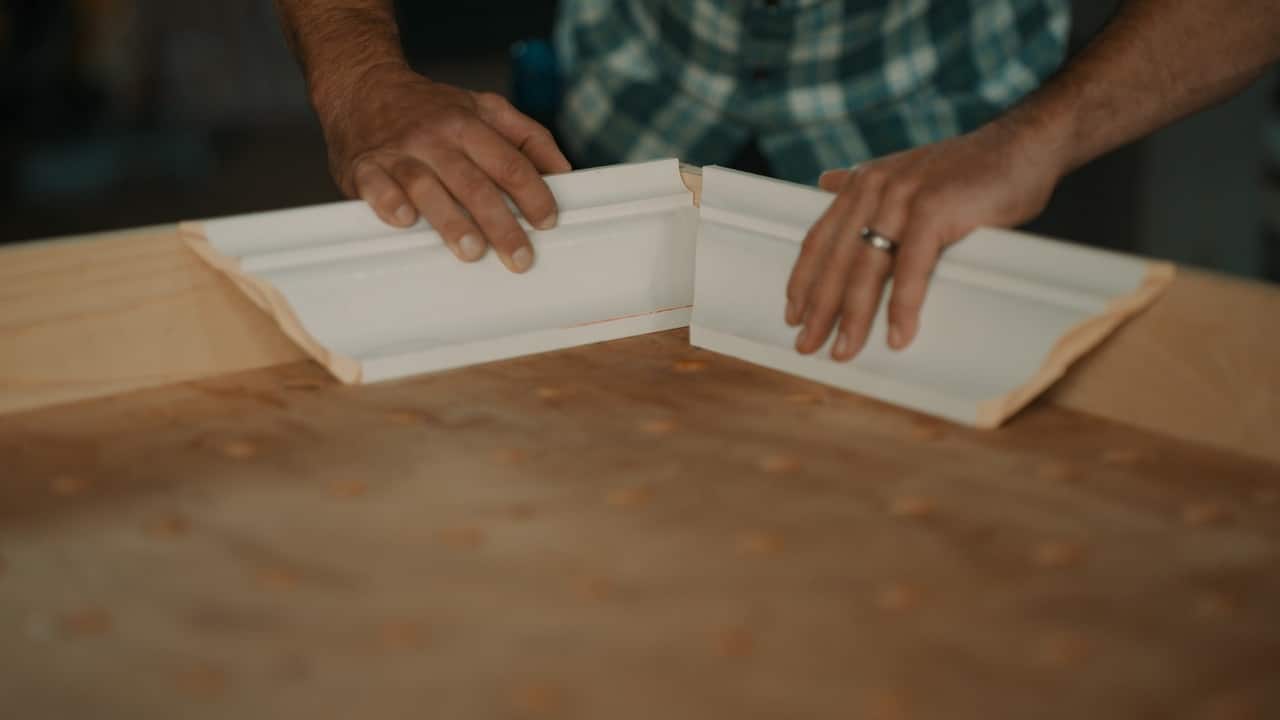
Place the square cut moulding first. Then add the coped piece, placing it snug against the square cut moulding to form a tight corner.
MT Copeland offers video-based online classes that give you a foundation in construction fundamentals with real-world applications, like coping crown moulding. Classes include professionally produced videos taught by practicing craftspeople, and supplementary downloads like quizzes, blueprints, and other materials to help you master the skills.


