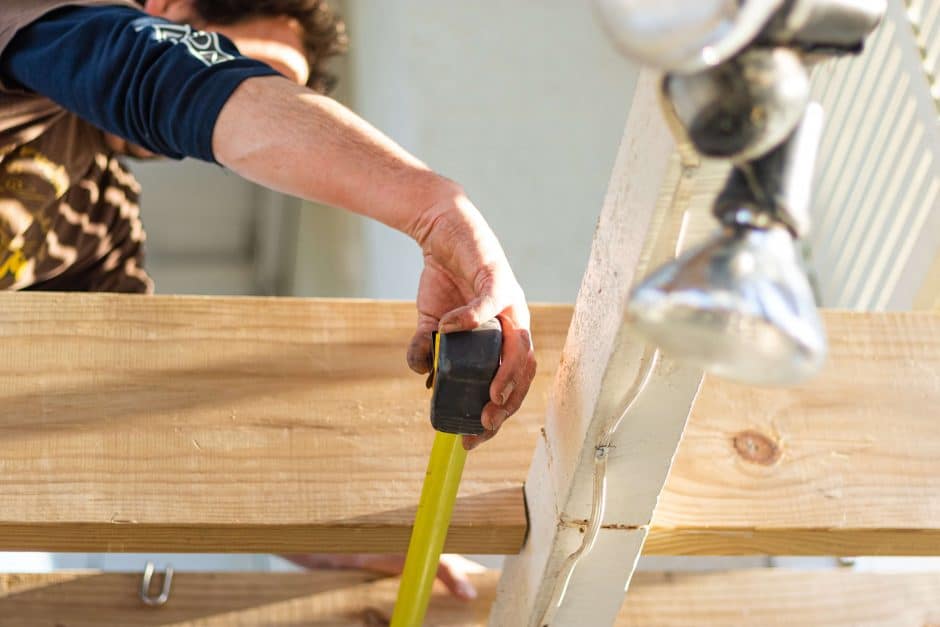
In the building trades, the tape measure is an essential measuring tool that will help you tackle projects both big and small—everything from estimate to build. Getting familiar with the measurements on a tape will also help you work faster and more efficiently. With enough practice, reading a tape measure down to fractions of an inch will become second nature.
Get a complete tutorial on how to use a tape measure like a pro from builder and craftsman Jordan Smith in MT Copeland’s Hand Tools online course.
Anatomy of a tape measure
In the US, the standard tape measure will measure in Imperial units—that’s feet and inches—while the rest of the world uses metric tape measures to measure in meters and centimeters. No matter which measurement system your measuring tape follows, the basic anatomy of the tool and how to read it remain the same.
Body or case
This is the housing that holds the coiled tape. It can be either plastic or metal, lightweight or more heavy duty based on the job type or your preference as a builder. Most tape measures will have a belt hook on one side of the body or case that allows you to affix your tape measure to your toolbelt or waistband for easy access.
Lock
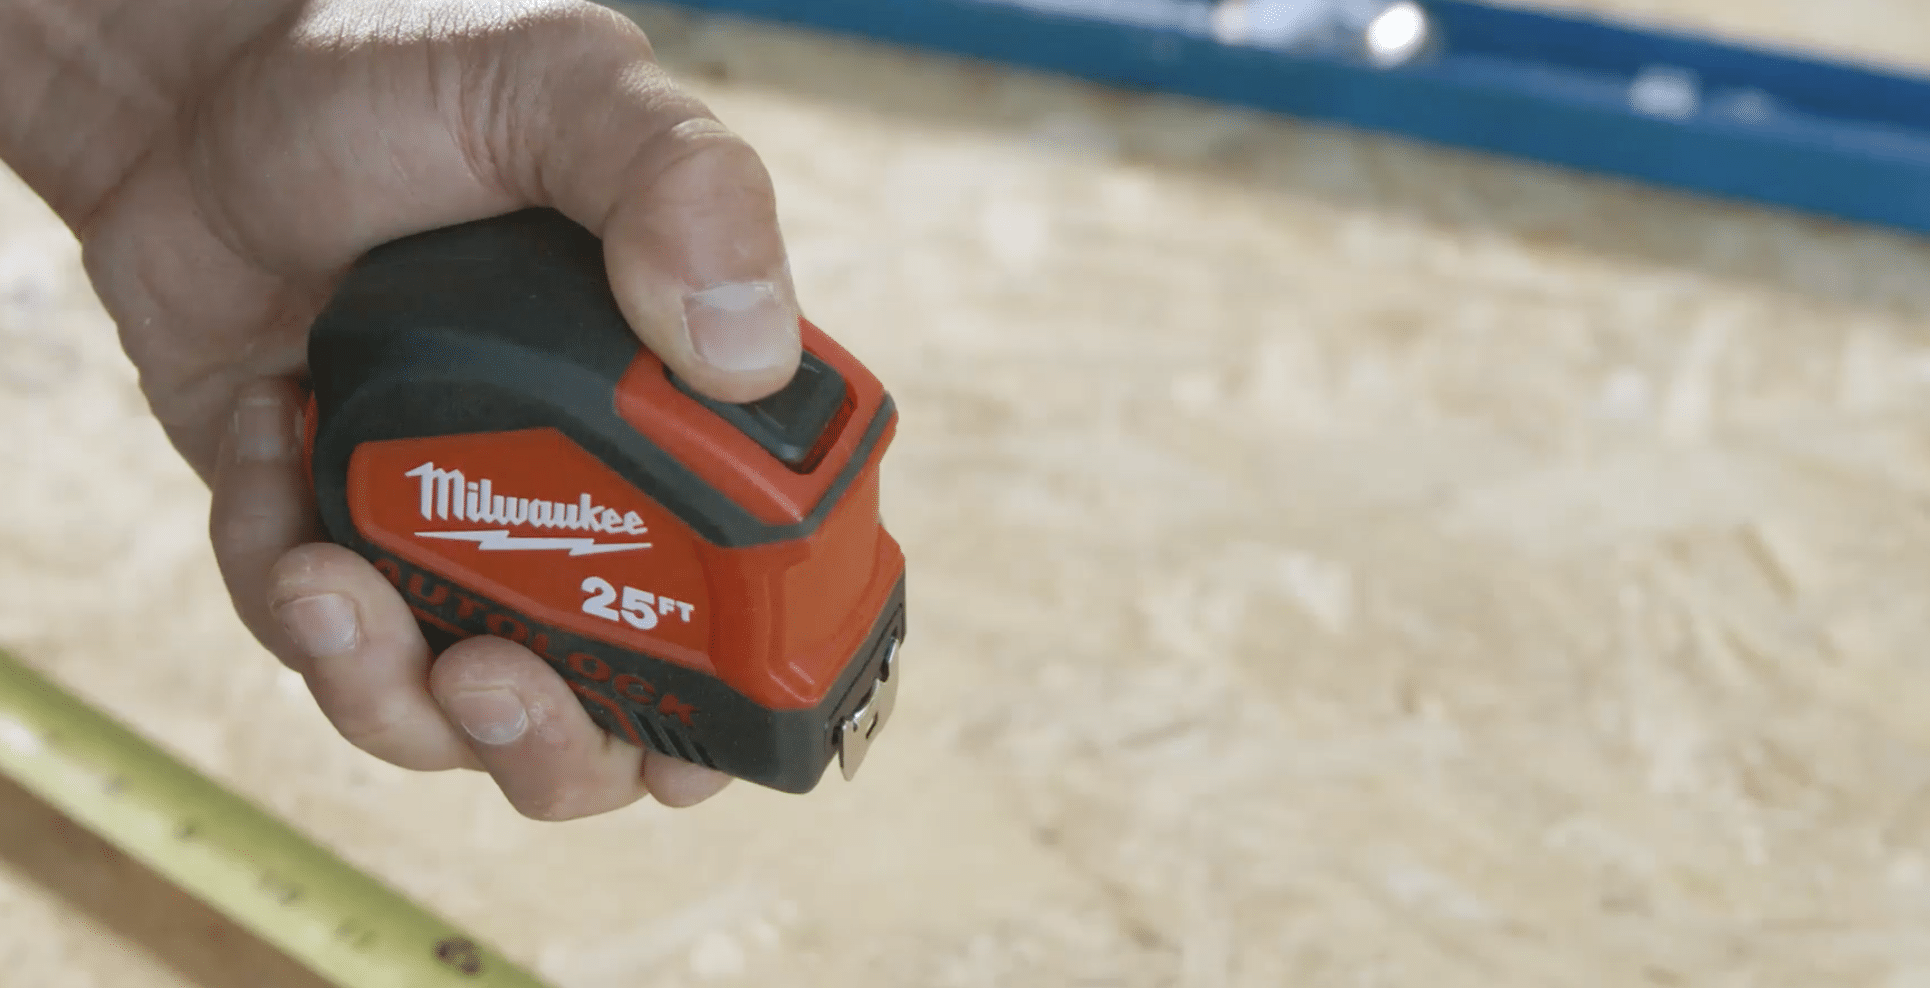
On a retractable tape measure, this is the lock that you can engage with your thumb to stop the tape from retracting back into the body while you mark down your measurement. When you release it, the tape will coil back into the body.
Tape
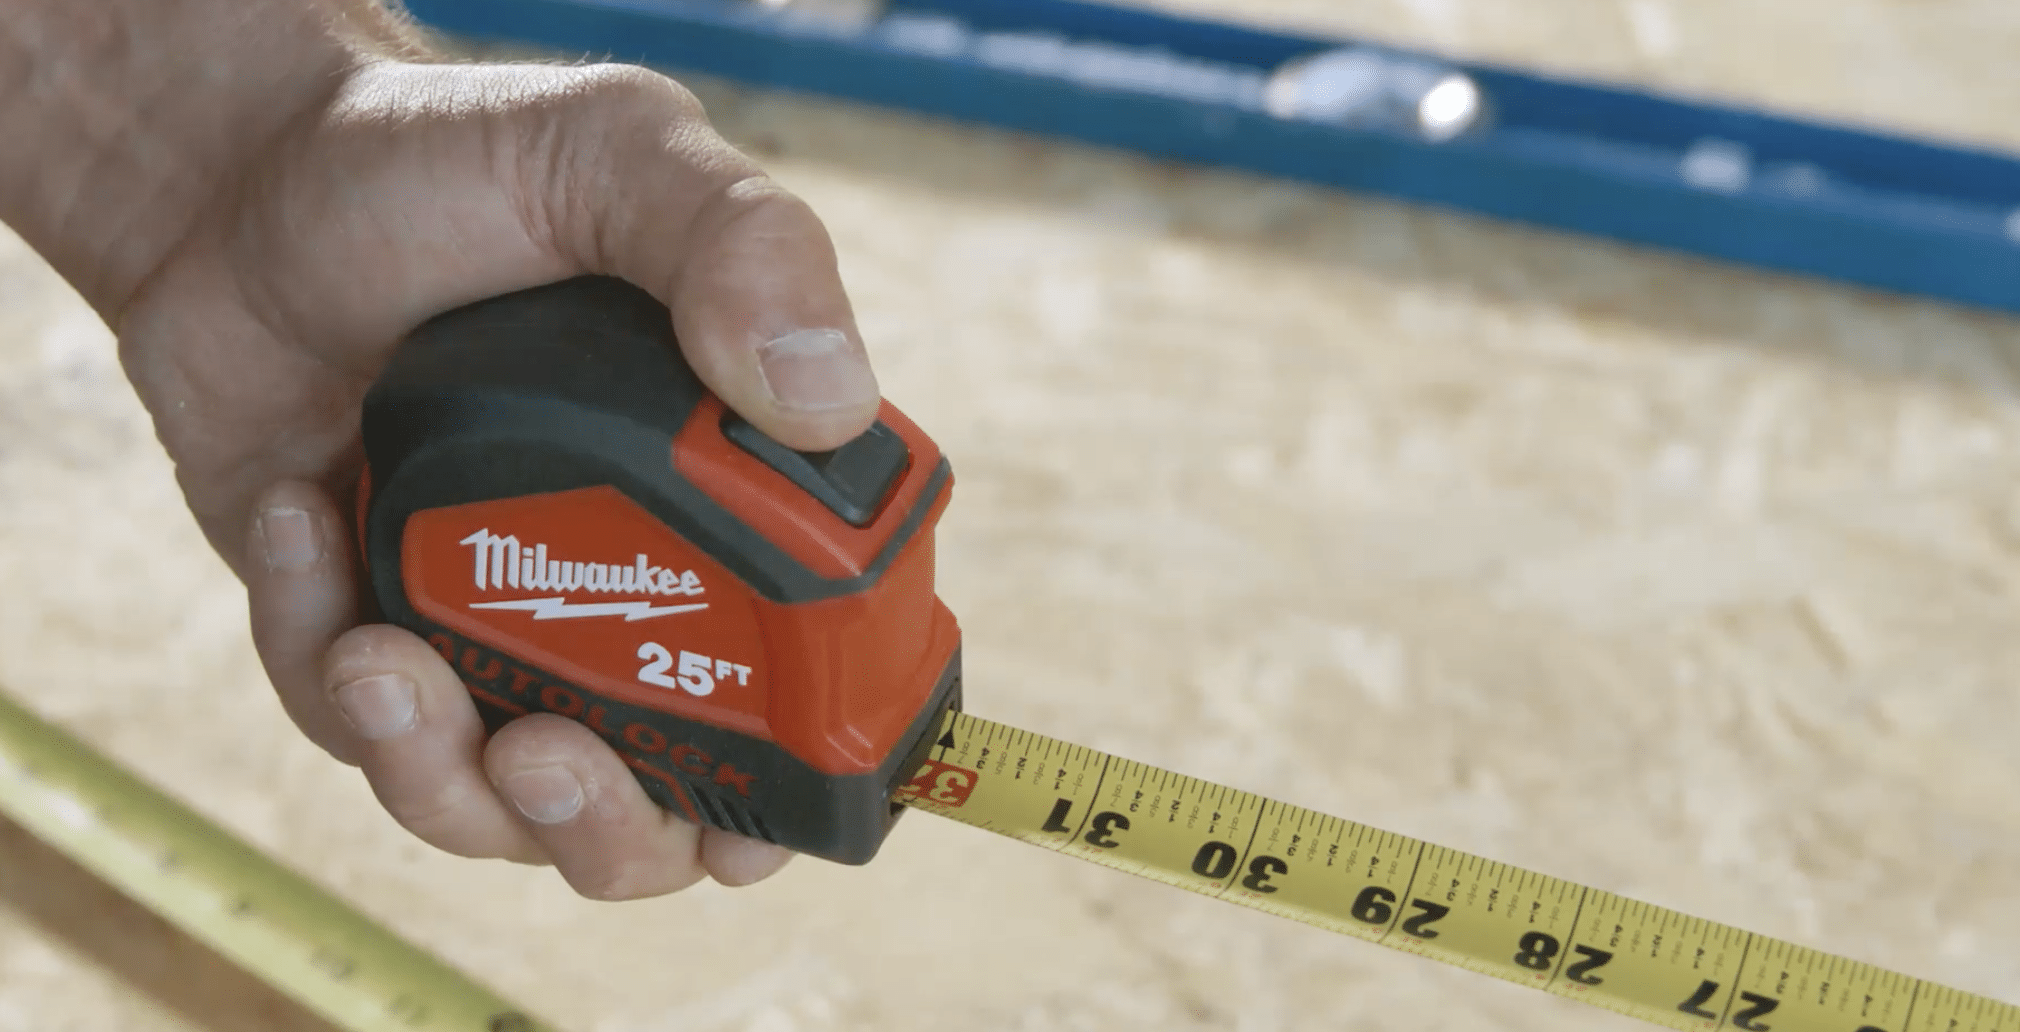
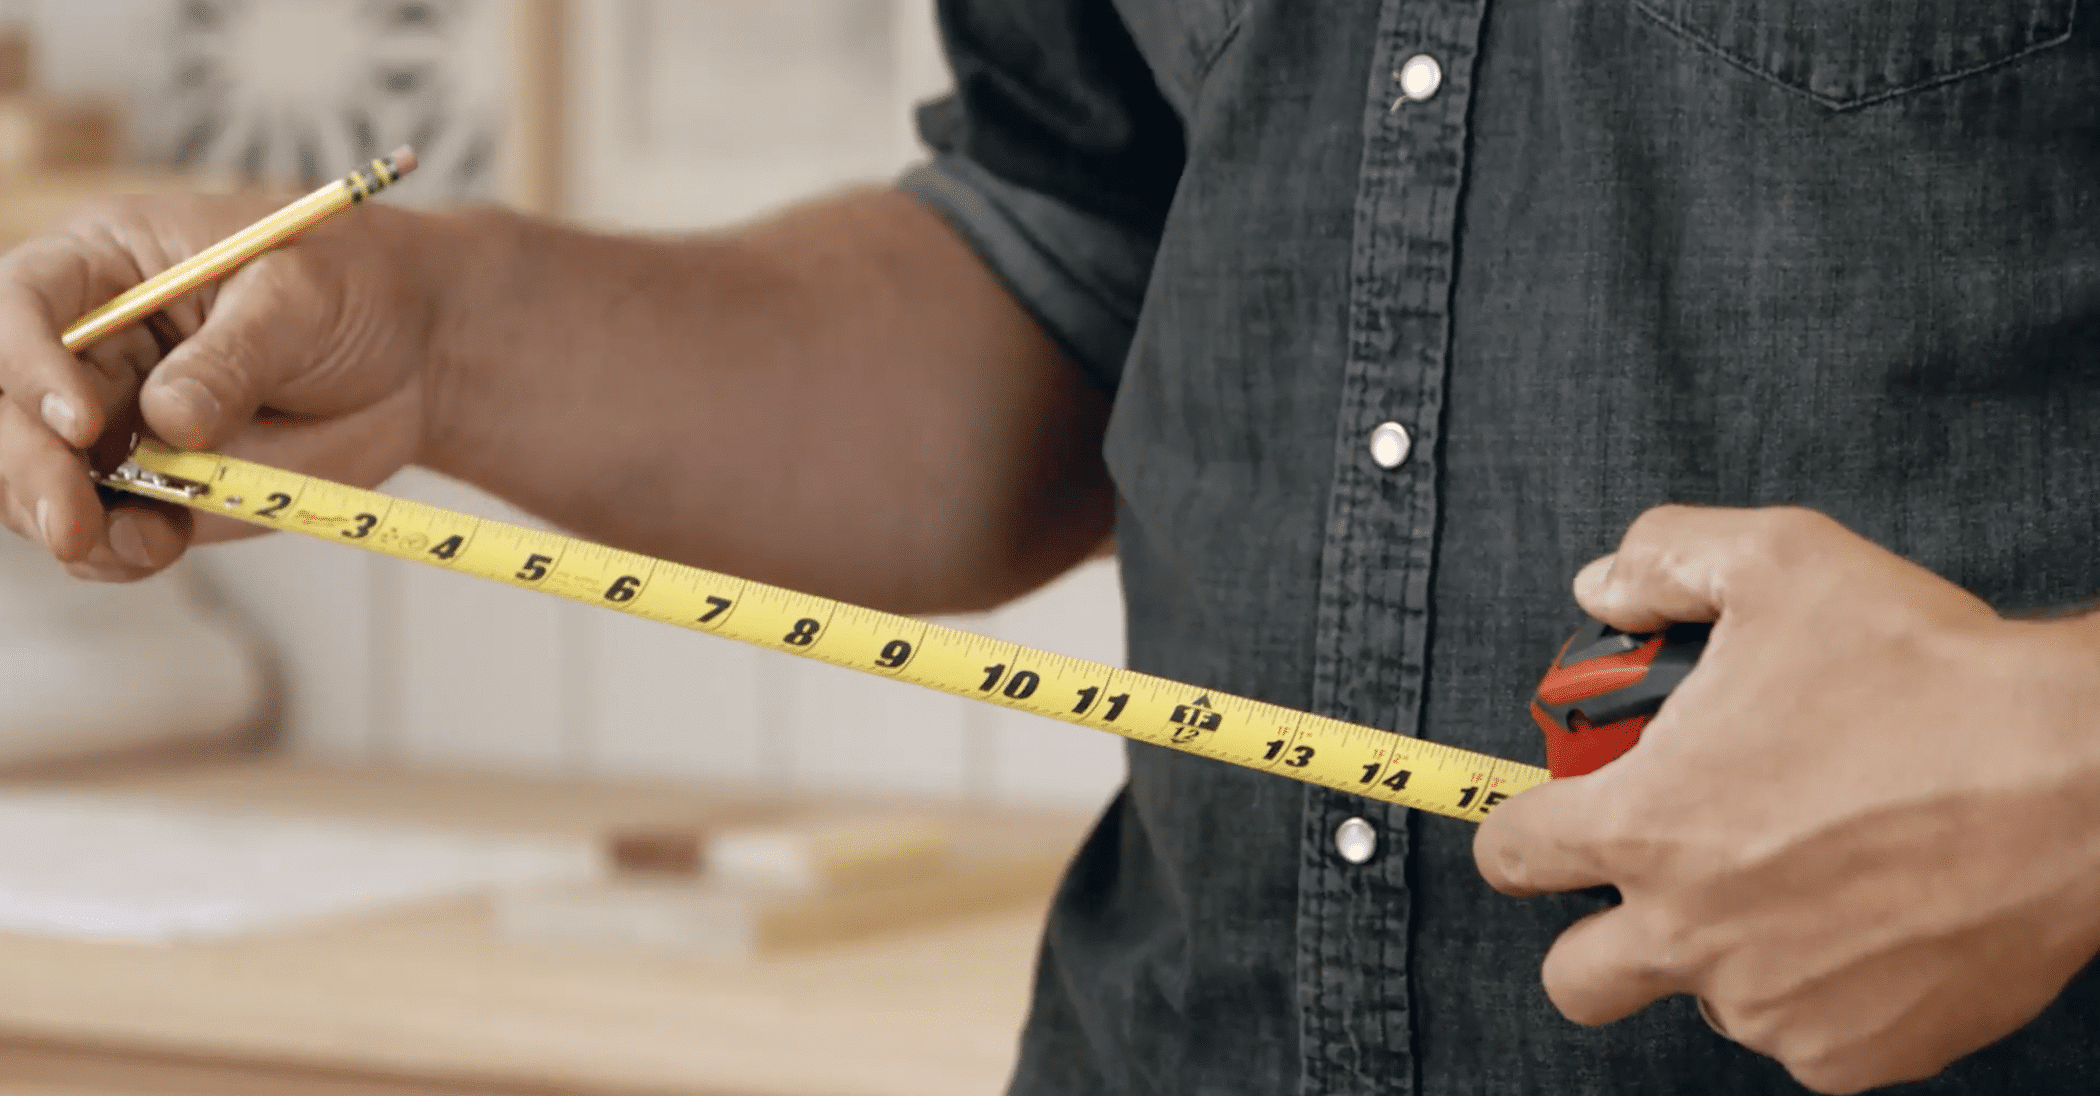
Typically yellow and sometimes white, this is the metal tape with graduation marks that measure feet, inches, and fractions of an inch. Stiffer tape will be able to reach a longer distance further without collapsing or buckling. The further the length of the tape can reach, the longer its “standout.” Longer lengths are for larger scale builds and shorter lengths are for finer work like furniture building and detailed, smaller cuts.
Pull tab
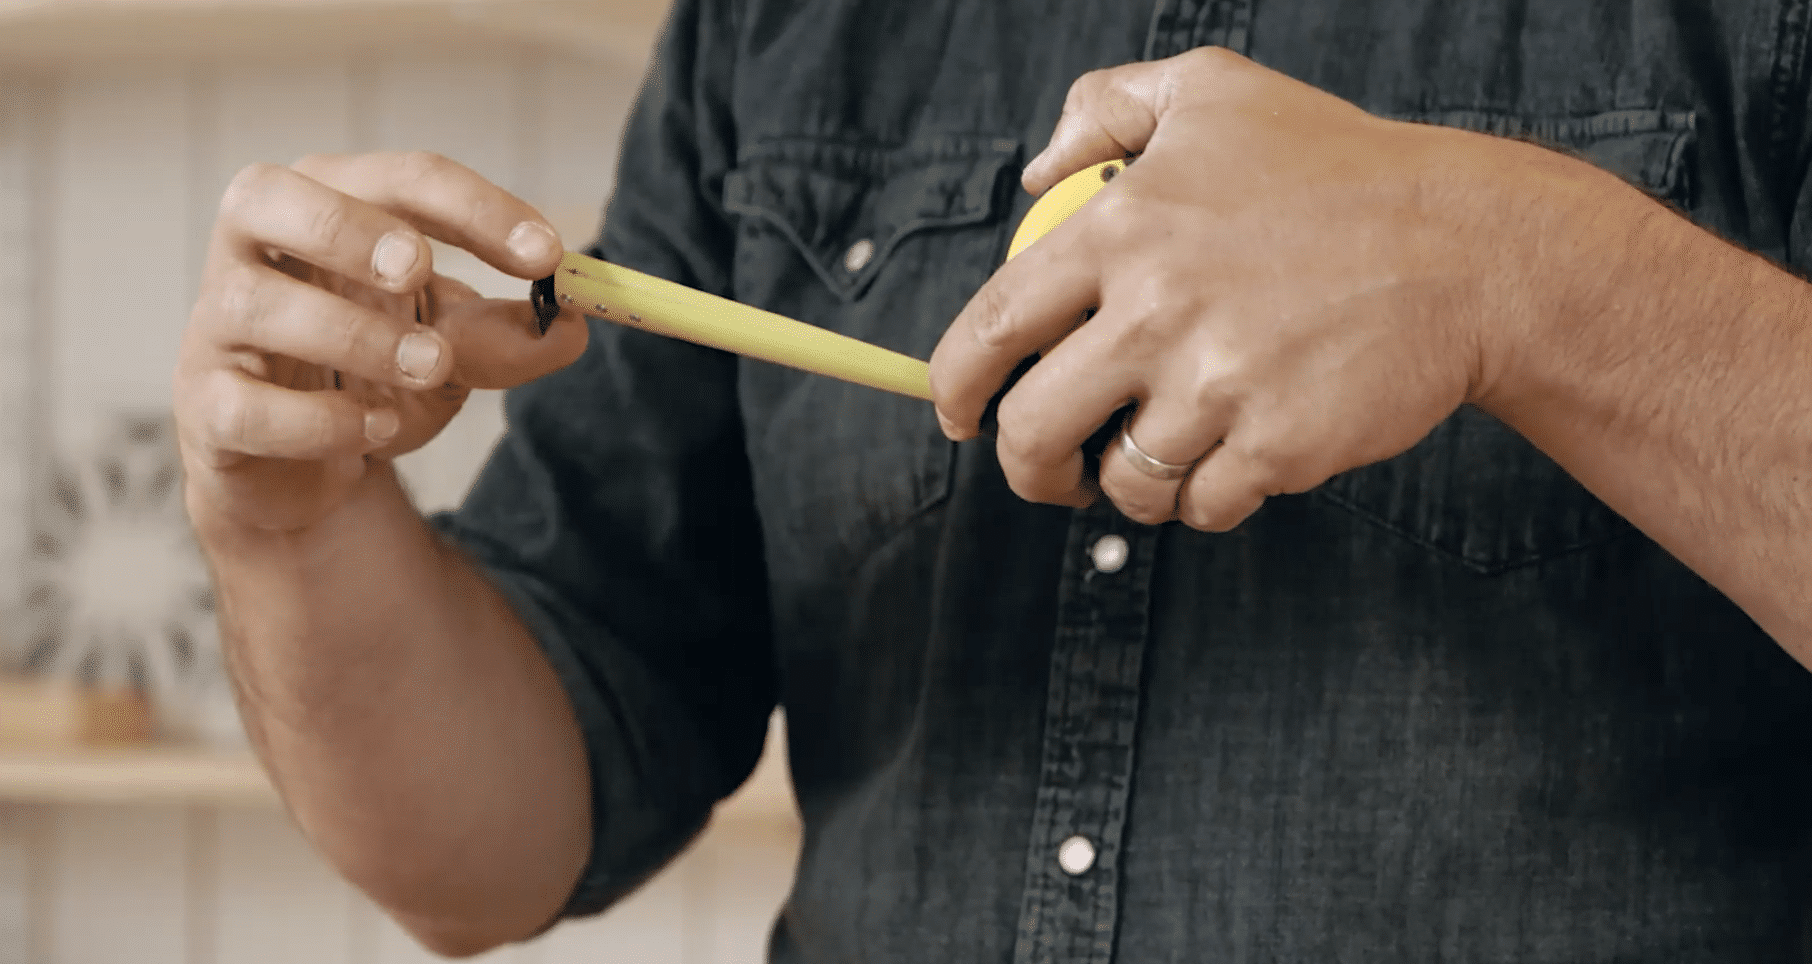
This is the metal hook on the end of the tape that allows you to pull the tape out and that makes it easier to hook on the end of a surface like a piece of lumber, or press up against a surface like a wall. It is intentionally left slightly loose on the end of the tape by the manufacturer so that you can get an exact measurement whether you are measuring from the inside or outside of an edge.
Beyond these essential components, different tape measure brands and models will offer an array of additional features, so when choosing a tape measure, you’ll also need to consider your own preferences and job type.
Introduction to Hand Tools
In the building trades, the tape measure is an essential measuring tool that will help you tackle projects both big and small—everything from estimate to build. Getting familiar with the measurements on a tape will also help you work faster and more efficiently. With enough practice, reading a tape measure down to fractions of an inch will become second nature.
Get a complete tutorial on how to use a tape measure like a pro from builder and craftsman Jordan Smith in MT Copeland’s Hand Tools online course.
Anatomy of a tape measure
In the US, the standard tape measure will measure in Imperial units—that’s feet and inches—while the rest of the world uses metric tape measures to measure in meters and centimeters. No matter which measurement system your measuring tape follows, the basic anatomy of the tool and how to read it remain the same.
Body or case
This is the housing that holds the coiled tape. It can be either plastic or metal, lightweight or more heavy duty based on the job type or your preference as a builder. Most tape measures will have a belt hook on one side of the body or case that allows you to affix your tape measure to your toolbelt or waistband for easy access.

Lock
On a retractable tape measure, this is the lock that you can engage with your thumb to stop the tape from retracting back into the body while you mark down your measurement. When you release it, the tape will coil back into the body.

Tape
Typically yellow and sometimes white, this is the metal tape with graduation marks that measure feet, inches, and fractions of an inch. Stiffer tape will be able to reach a longer distance further without collapsing or buckling. The further the length of the tape can reach, the longer its “standout.” Longer lengths are for larger scale builds and shorter lengths are for finer work like furniture building and detailed, smaller cuts.

Pull tab
This is the metal hook on the end of the tape that allows you to pull the tape out and that makes it easier to hook on the end of a surface like a piece of lumber, or press up against a surface like a wall. It is intentionally left slightly loose on the end of the tape by the manufacturer so that you can get an exact measurement whether you are measuring from the inside or outside of an edge.

Beyond these essential components, different tape measure brands and models will offer an array of additional features, so when choosing a tape measure, you’ll also need to consider your own preferences and job type.
A tape measure is only one of the essential tools you’ll need on a construction site. Learn more about the most important construction hand tools—and how to use them safely—in MT Copeland’s online class, taught by professional builder and craftsman Jordan Smith.

How to read a tape measure
To read a tape measure, you first need to know what each of those black lines stand for. In general, the longer the length of the line, the longer the measurement. The longest mark labeled with large numbers (usually black) marks inches. Each smaller marking is an increasingly smaller fraction of an inch. For example, the line about half the length of the inch mark is ½ inch. Quarter inches are the next smallest measurement, and the length of the mark is equal to about one fourth of the inch mark. If you prefer your tape measure comes with fractions of an inch marked, look for a fractional read tape.

Here is the complete breakdown of one inch on a tape measure:
- 1 inch mark (runs completely across the tape and is the longest mark)
- ½ inch mark
- ¼ inch mark
- ⅛ inch mark
- 1/16 inch mark
- Foot marks are made every 12 inches so that you don’t have to convert inches into feet in your head for long measurements.
Note: Tape measures made specifically for framing jobs will come with numbers marked in red so that you can easily locate common 16 inch stud intervals. This makes measuring center-to-center on studs especially convenient.
How to use a tape measure to measure things accurately
- To get an accurate measurement, it’s important that the tape lays as flat as possible against the surface. Either hook the pull tab on the edge of the surface or press it flat to the inside of the surface.
- Then engage the lock if your tape measure has one, or hold the tape in place with your hand to secure. Mark your surface with the measurement as close to the tape marking as possible, or record on a notepad if you are in the planning stages.
- Slowly disengage the lock to allow the tape to coil back in safely rather than letting it snap back in with too much force.
“Burning an inch”
To measure a length as exactly as possible for detailed finishing work or expensive materials where you really only have one shot to get it right, try the “burning an inch” method. Instead of using the pull tab as the edge, place the tape measure so that the one inch line is exactly at the edge of whatever you are measuring. Then take the measurement and subtract one inch. This is best done in pairs so get someone to help you out holding the other end and make sure the person reading the measurement knows that the person pulling the tape is burning an inch.
Tips and tricks for using a tape measure
- If you are measuring alone, tap a nail into the outside edge of the surface and use the hole in the pull tab to anchor the tape to the surface before taking your measurement.
- In a pinch, you can use your tape measure as a straight edge if the mark doesn’t need to be 100% accurate.
- Most stores will only carry tape measures that read correctly while the body is held in your right hand. If you prefer to mark with your right hand and hold your tape measure with your left hand, you can special order a left handed tool.
MT Copeland offers video-based online classes that give you a foundation in construction fundamentals with real-world applications. Classes include professionally produced videos taught by practicing craftspeople, and supplementary downloads like quizzes, blueprints, and other materials to help you master the skills.

Featured Instructor
Jordan Smith
Jordan Smith is the CEO and Founder of Smith House Company, a design+build firm based in Austin, Texas. He learned to build and weld while working on the farm with his grandad, and after earning a degree in Welding and Materials Engineering, he spent the next 10 years working in the heavy construction building everything from robots to ships to offshore oil rigs before transitioning to residential construction. After spending a couple of years working with industry leading builders in Austin, Jordan and his wife Veronica struck out on their own to form Smith House Co. Smith House Co. strives to build more beautiful, functional and resilient spaces which are self sustaining and harmonize with their natural surroundings.
Explore Classes

