What Is a Drywall Butt Joint? How to Tape and Finish Butt Joints
Nov 18, 2021
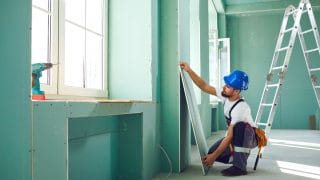
During a drywall installation, drywall sheets are fitted and hung together to make walls and ceilings. Because the most commonly used drywall sheet size measures 4’ x 8’, it often takes several sheets to cover the length of one ceiling or wall. The area where drywall sheets meet is called a drywall joint, and there are two main types: flats and butts.
What is a drywall butt joint?
A drywall butt joint is an untapered edge between two drywall sheets, which means they have the same level of thickness and join to create a completely flat surface.
On a standard drywall sheet that measures 4’ x 8’, the drywall is about ½ inch thick. On the 8’ end, the drywall sheet gets thinner at the edges. Typically drywall sheets are installed so their tapered edges meet, which provides a space to hold mud. Sometimes, to accommodate a room’s dimensions and layout, the drywall needs to be cut and pieced together, which creates a butt joint. Structurally, butt joints are not different from tapered joints; they’re just more difficult to mud and tape.
Butt joints vs. flat joints: What’s the difference?
The space where two tapered, thin drywall edges meet is called a flat joint. However, despite their name, flats create a subtle dip between drywall boards. Flats are preferred by most drywall finishers because their small dip provides space for joint compound when mudding and taping.
Butt joints, by contrast, require more work to move around their tight seams. They are usually unavoidable on most drywall projects since drywall boards often need to be cut to fit the dimensions of a room. Fortunately, with the right tools, equipment, and a little patience, butt joints can be made to look just as professionally finished as flat joints.
What tools do you need to tape a drywall butt joint?
- Utility knife
- Drywall knife
- Joint compound–both powdered (hot mud) and taping mud
- Paper tape
- Pan
How to tape a drywall butt joint
The first step in taping a butt joint is addressing the flat plane. Since it’s nearly impossible to fit any joint compound or tape into a butt joint’s seam, a makeshift tapered joint is essential.
- “Pre-v” the butt joint. Using a utility knife, take the blade and make a bevel cut, or 45-degree angle, along the edges of both drywall boards. This should create a wide V shape in the joint. It also creates a small slope between drywall boards, which allows the joint compound and paper tape to fit in more easily.
- Mud the joint with hot mud and a drywall knife. As with any drywall finishing process, mudding is one of the most important steps for aesthetics and structure: It forms a glue that keeps drywall boards in place, and creates a seamless surface over any screws or gaps. Hot mud is ideal for the first mudding layer since it expands as it dries, covering gaps or screw holes. Once the layer’s applied, let it dry completely.
- Apply lots of taping mud along the joint. It’s better to err on the side of applying more taping mud than you need since mud binds the paper tape to the joint. When there’s not enough mud, sometimes the tape can peel back and create drywall blisters, or visible bubbles beneath the paper.
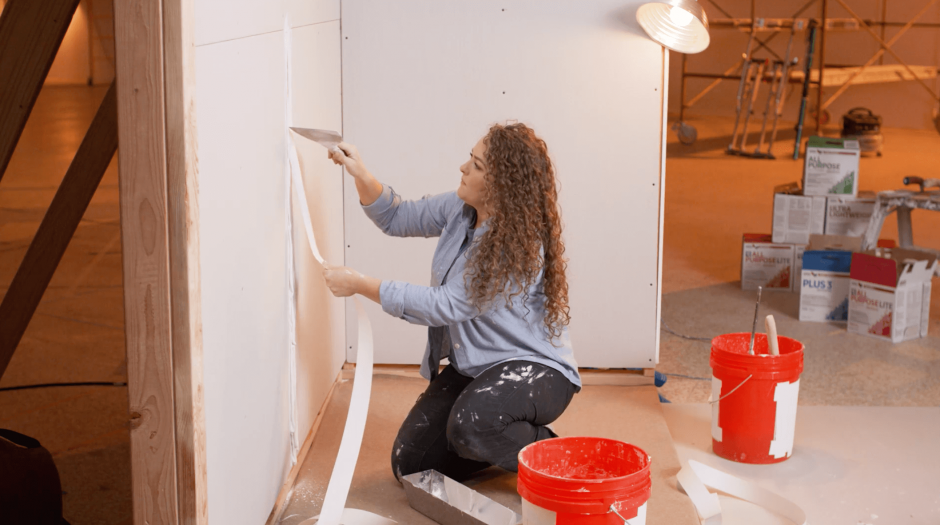
- Apply paper tape over the joint. With your drywall knife, press one end of the paper tape over the joint and line the tape down the seam so it covers the joint, top to bottom. Run your drywall knife over the paper tape so it adheres to the drywall joint.
- Use a drywall knife to wipe away excess mud. To avoid wrinkling or moving the tape, start at the center of the paper tape, then move up or down. Repeat in the opposite direction. The tape should be smooth, flat, and secure along the joint without any wrinkles.
- Let the drywall tape and mud dry. Once the butt joint is properly taped, you can move on to the final step in the finishing process, coating the drywall.
MT Copeland offers video-based online classes that give you a foundation in construction fundamentals with real-world applications, like working with drywall. Classes include professionally produced videos taught by practicing craftspeople, and supplementary downloads like quizzes, blueprints, and other materials to help you master the skills.

