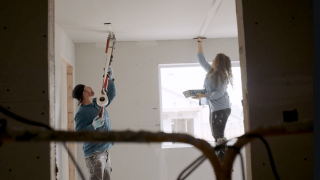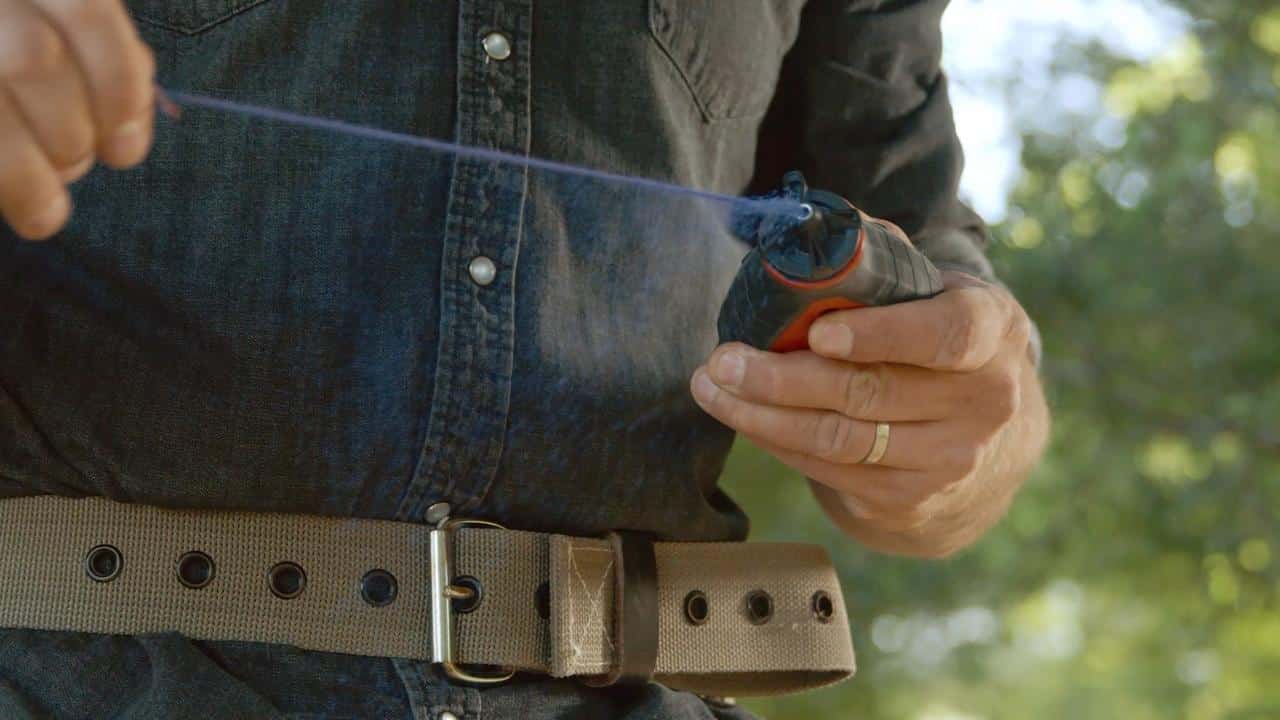
When you hear the term “chalk line,” it can refer to either the tool or the line that the tool creates. A chalk line tool is made of a body (also called a chalk box) that contains colored, powdered chalk and a long reel of string. You pull the string out, snap it against a surface to mark a line, and wind it back up.
A chalk line is a handy tool to mark a straight line when you do not have a ruler handy and for marking a line over a long distance of 30 to 40 feet and beyond. It’s not going to give you a perfectly straight line so it is not a substitute for a straight edge when you need an exact measurement, but it’s great for when almost-straight will do.
How to use a chalk line
A key point to remember when using a chalk line is that the person who walks is the person who pops. That means if you are the one walking the tool to the other end of the distance you are measuring, you are the one who pops the line over the surface. Your helper on the other end is only there to secure the other end of the line in place. Since you might be measuring a great length beyond shouting distance, it’s important to know this code.
Get a complete tutorial on how to use a chalk line like a pro from builder and craftsman Jordan Smith in MT Copeland’s Hand Tools online course.
Step 1
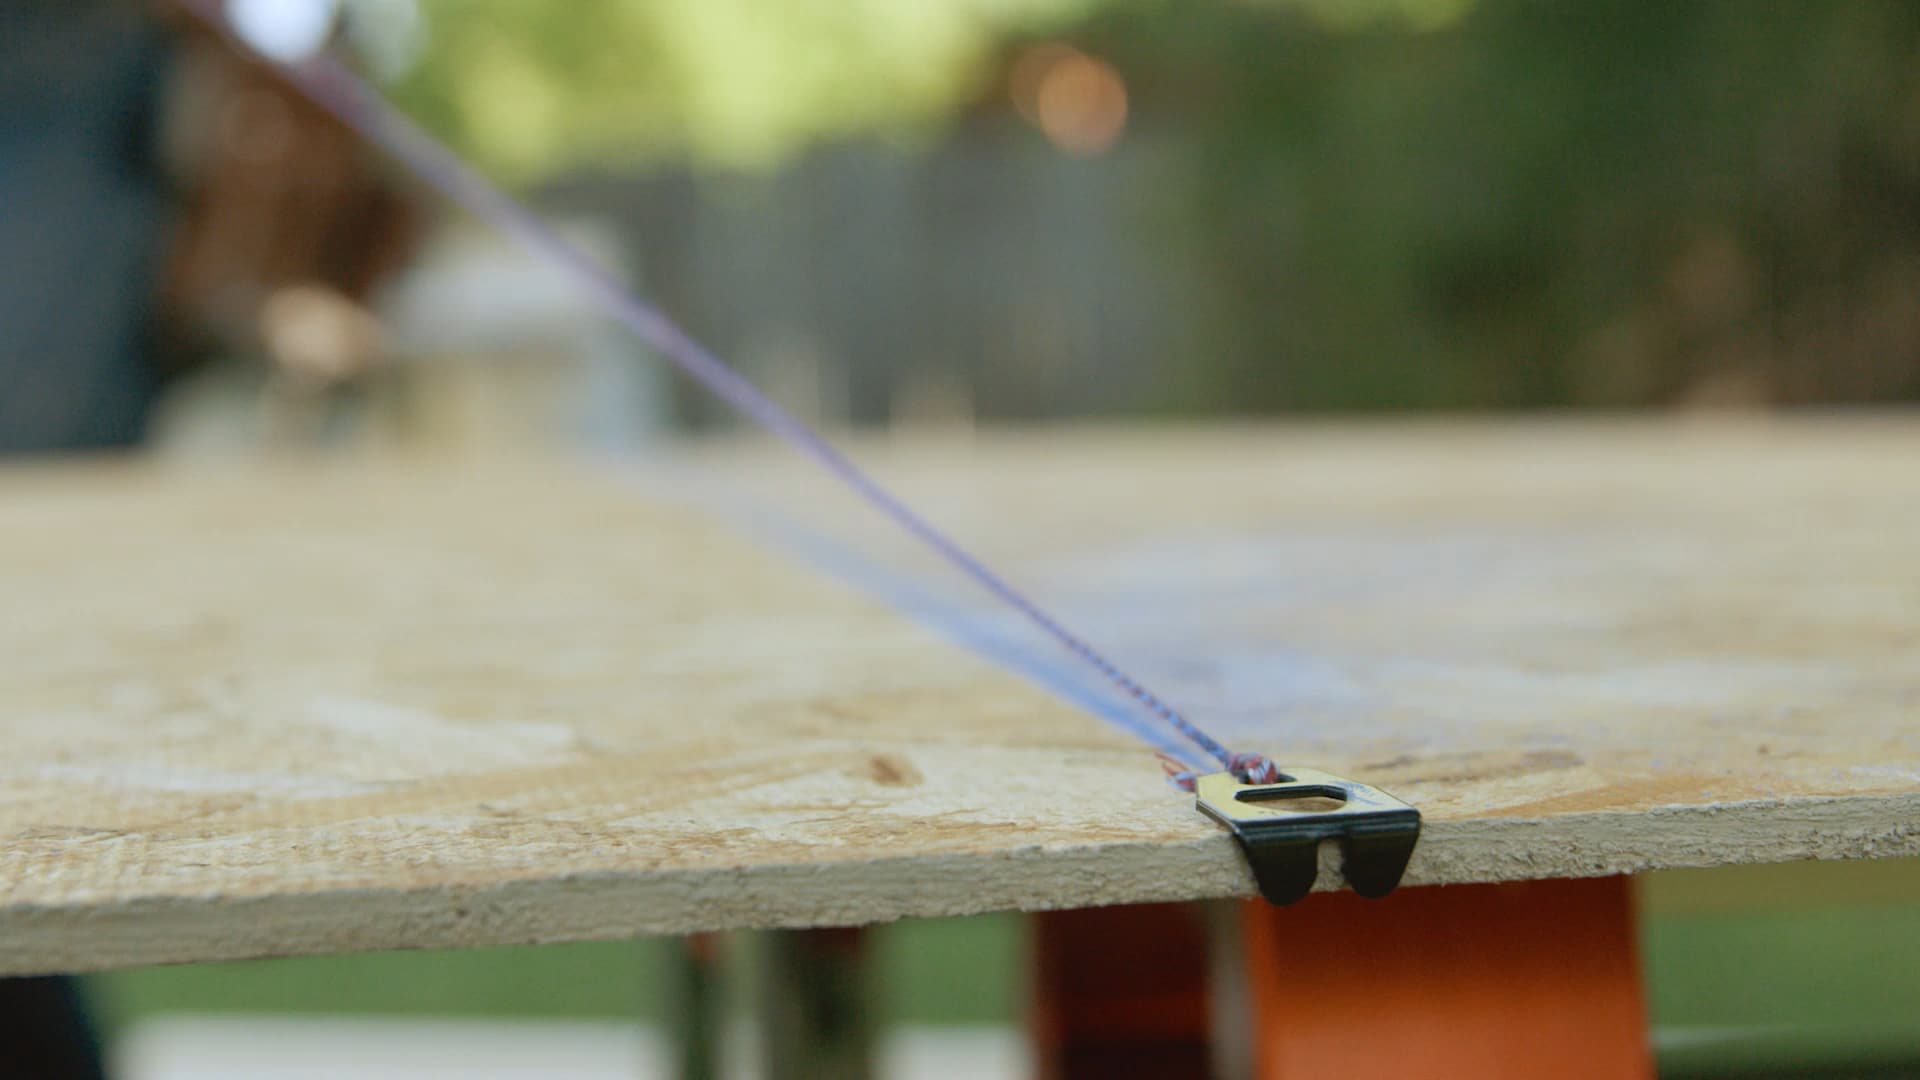
Hand the pull tab end of the line to a helper and walk to the other end of your measurement. If you don’t have a helper, the pull tab will hook onto the end of the surface so that you can tightly stretch the string, or you can use a nail and anchor the tab over the nail head to hold it in place.
Step 2
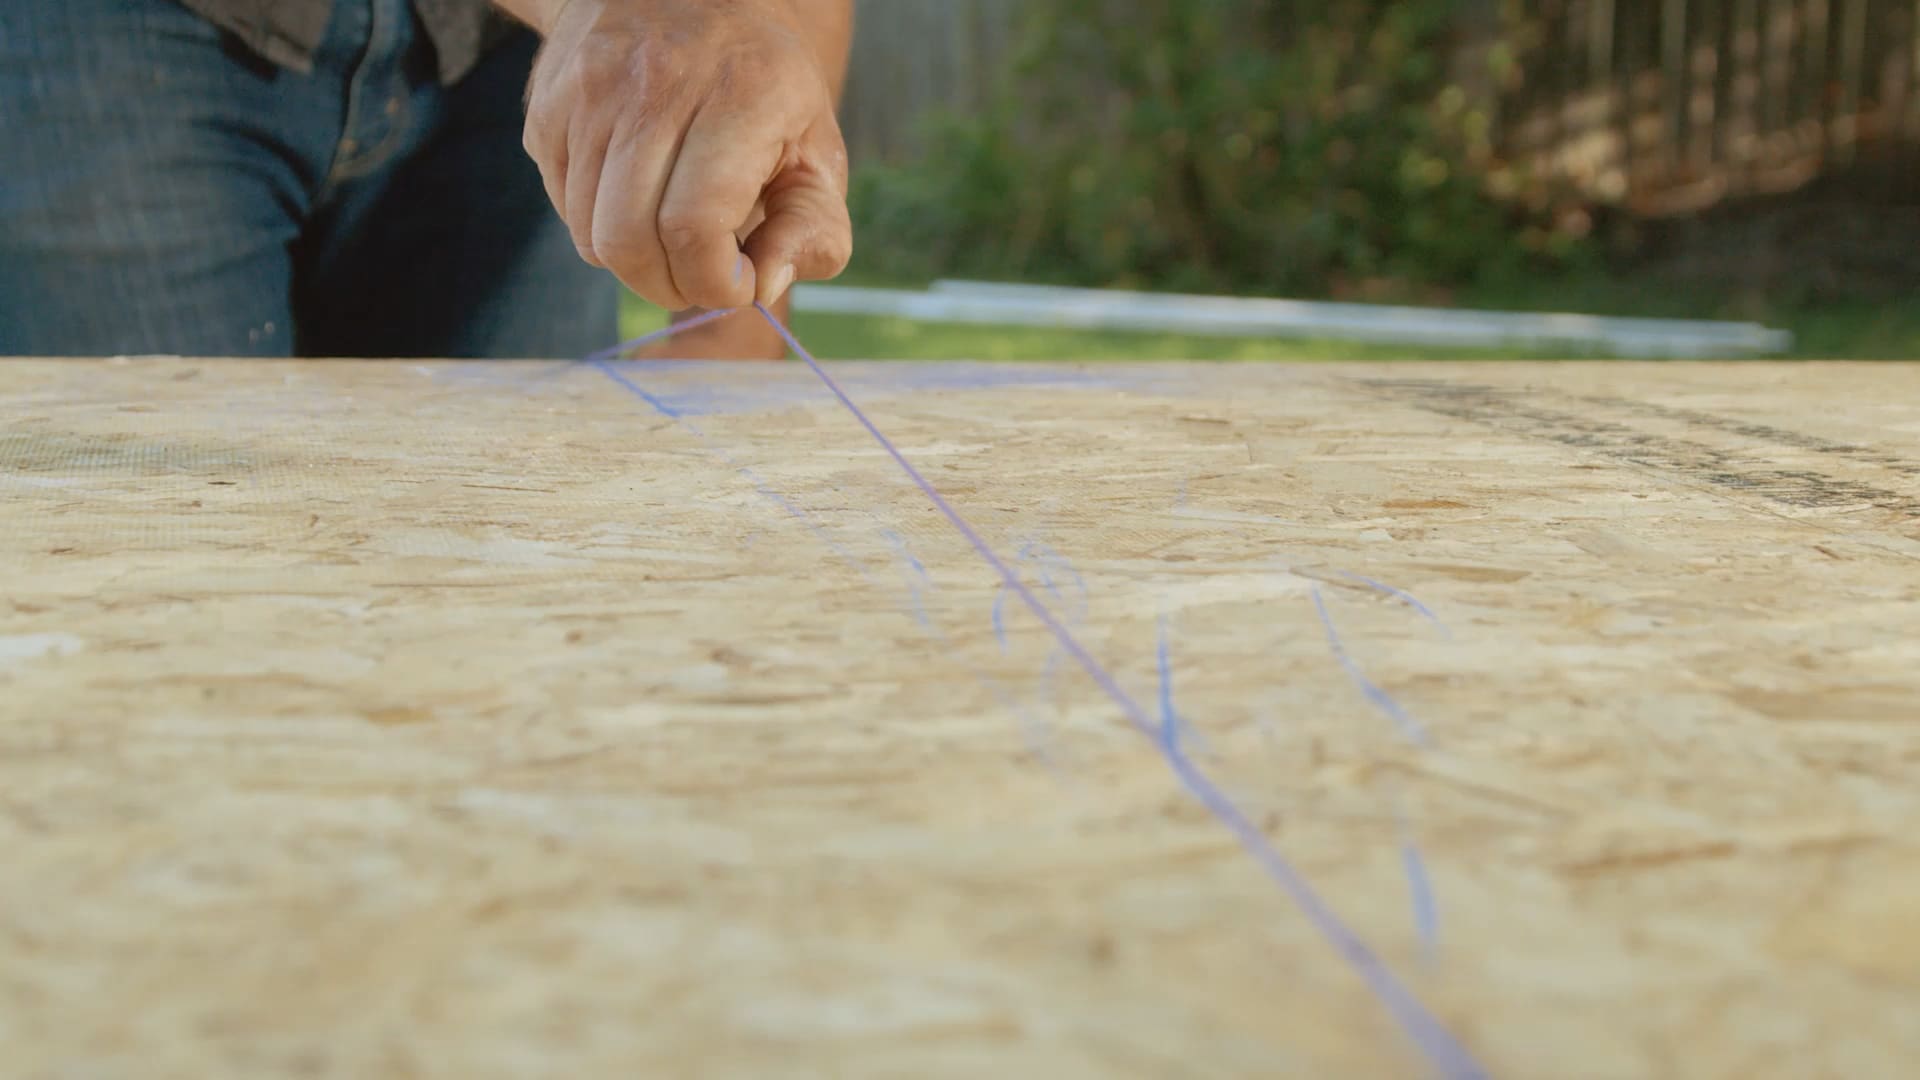
Pull the string tight over the surface you are measuring.
Step 3
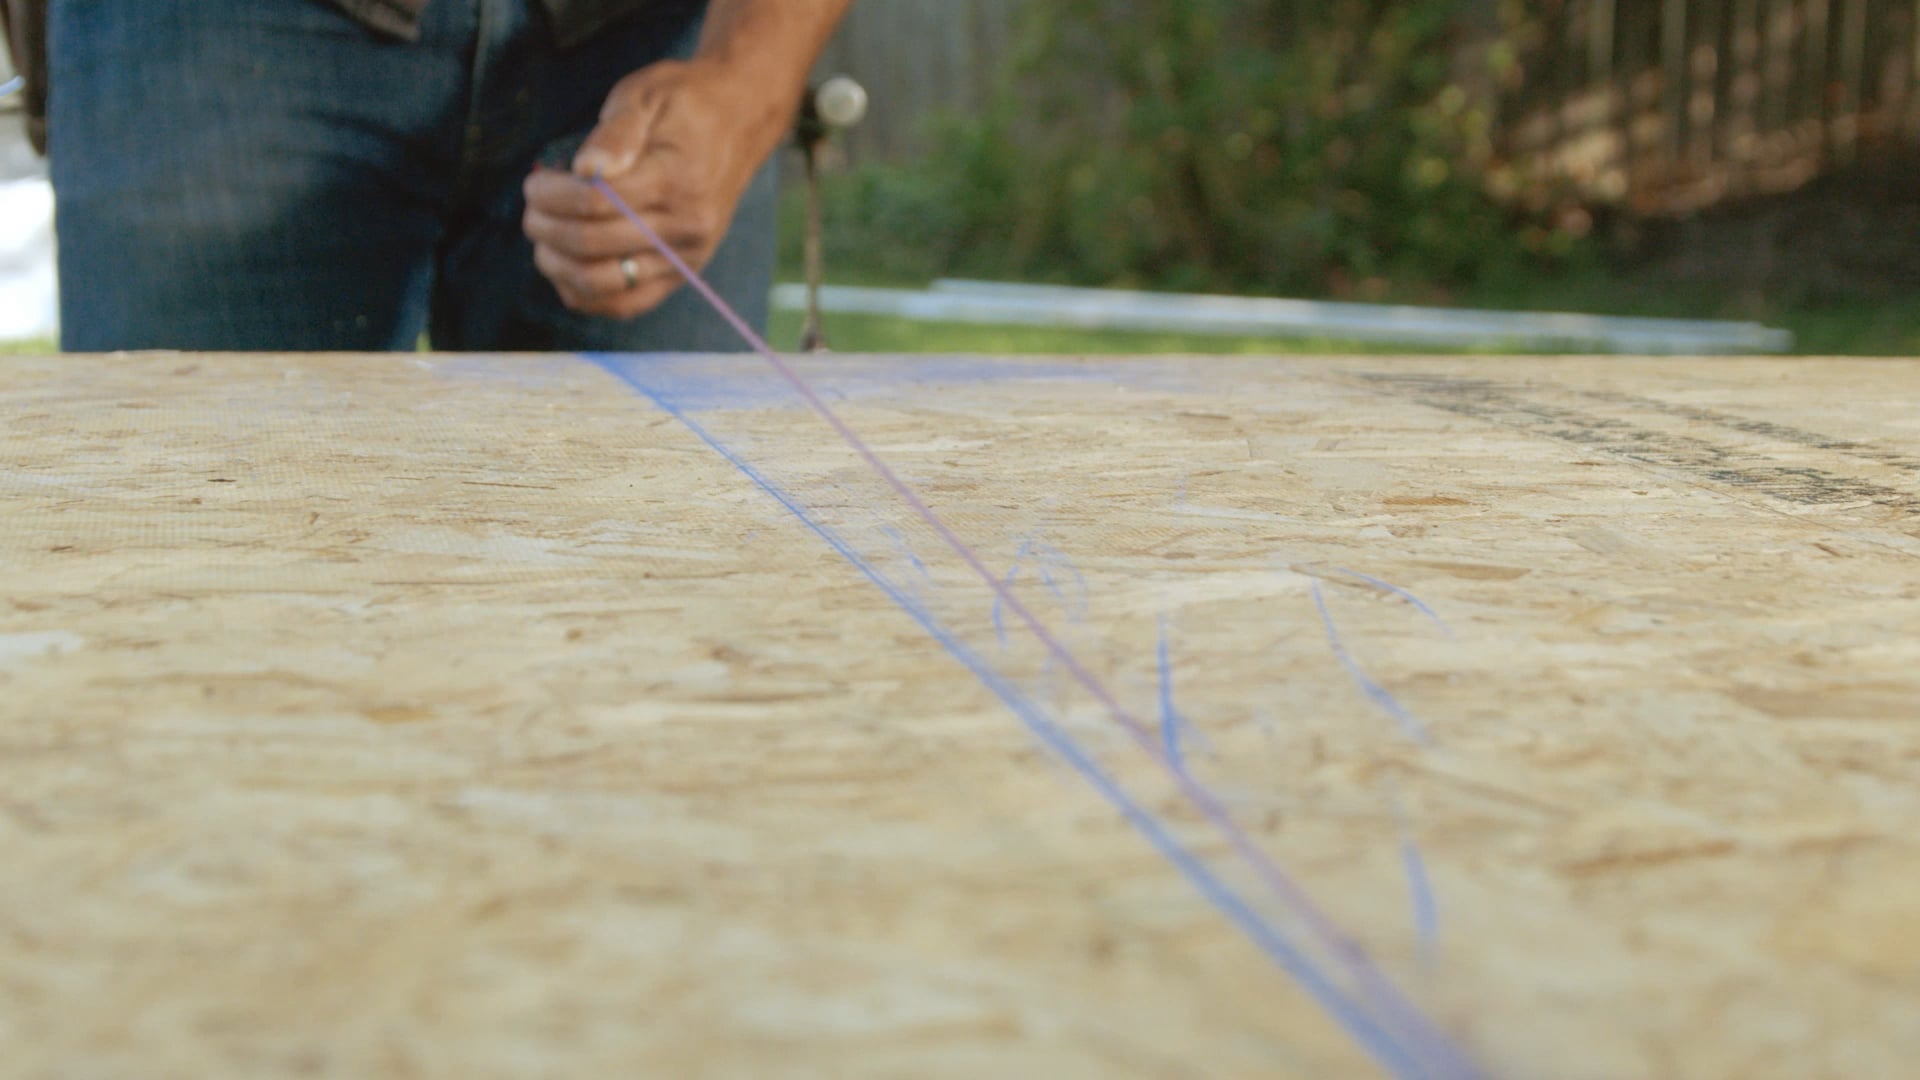
Pull up on the string as close to perpendicular to the surface as possible and let it snap back down to pop the line.
Step 4
When you hear the term “chalk line,” it can refer to either the tool or the line that the tool creates. A chalk line tool is made of a body (also called a chalk box) that contains colored, powdered chalk and a long reel of string. You pull the string out, snap it against a surface to mark a line, and wind it back up.
A chalk line is a handy tool to mark a straight line when you do not have a ruler handy and for marking a line over a long distance of 30 to 40 feet and beyond. It’s not going to give you a perfectly straight line so it is not a substitute for a straight edge when you need an exact measurement, but it’s great for when almost-straight will do.
How to use a chalk line
A key point to remember when using a chalk line is that the person who walks is the person who pops. That means if you are the one walking the tool to the other end of the distance you are measuring, you are the one who pops the line over the surface. Your helper on the other end is only there to secure the other end of the line in place. Since you might be measuring a great length beyond shouting distance, it’s important to know this code.
Get a complete tutorial on how to use a chalk line like a pro from builder and craftsman Jordan Smith in MT Copeland’s Hand Tools online course.
Step 1
Hand the pull tab end of the line to a helper and walk to the other end of your measurement. If you don’t have a helper, the pull tab will hook onto the end of the surface so that you can tightly stretch the string, or you can use a nail and anchor the tab over the nail head to hold it in place.

Step 2
Pull the string tight over the surface you are measuring.

Step 3
Pull up on the string as close to perpendicular to the surface as possible and let it snap back down to pop the line.

Step 4
Use the handle to wind the line back into the body of the chalk line tool.
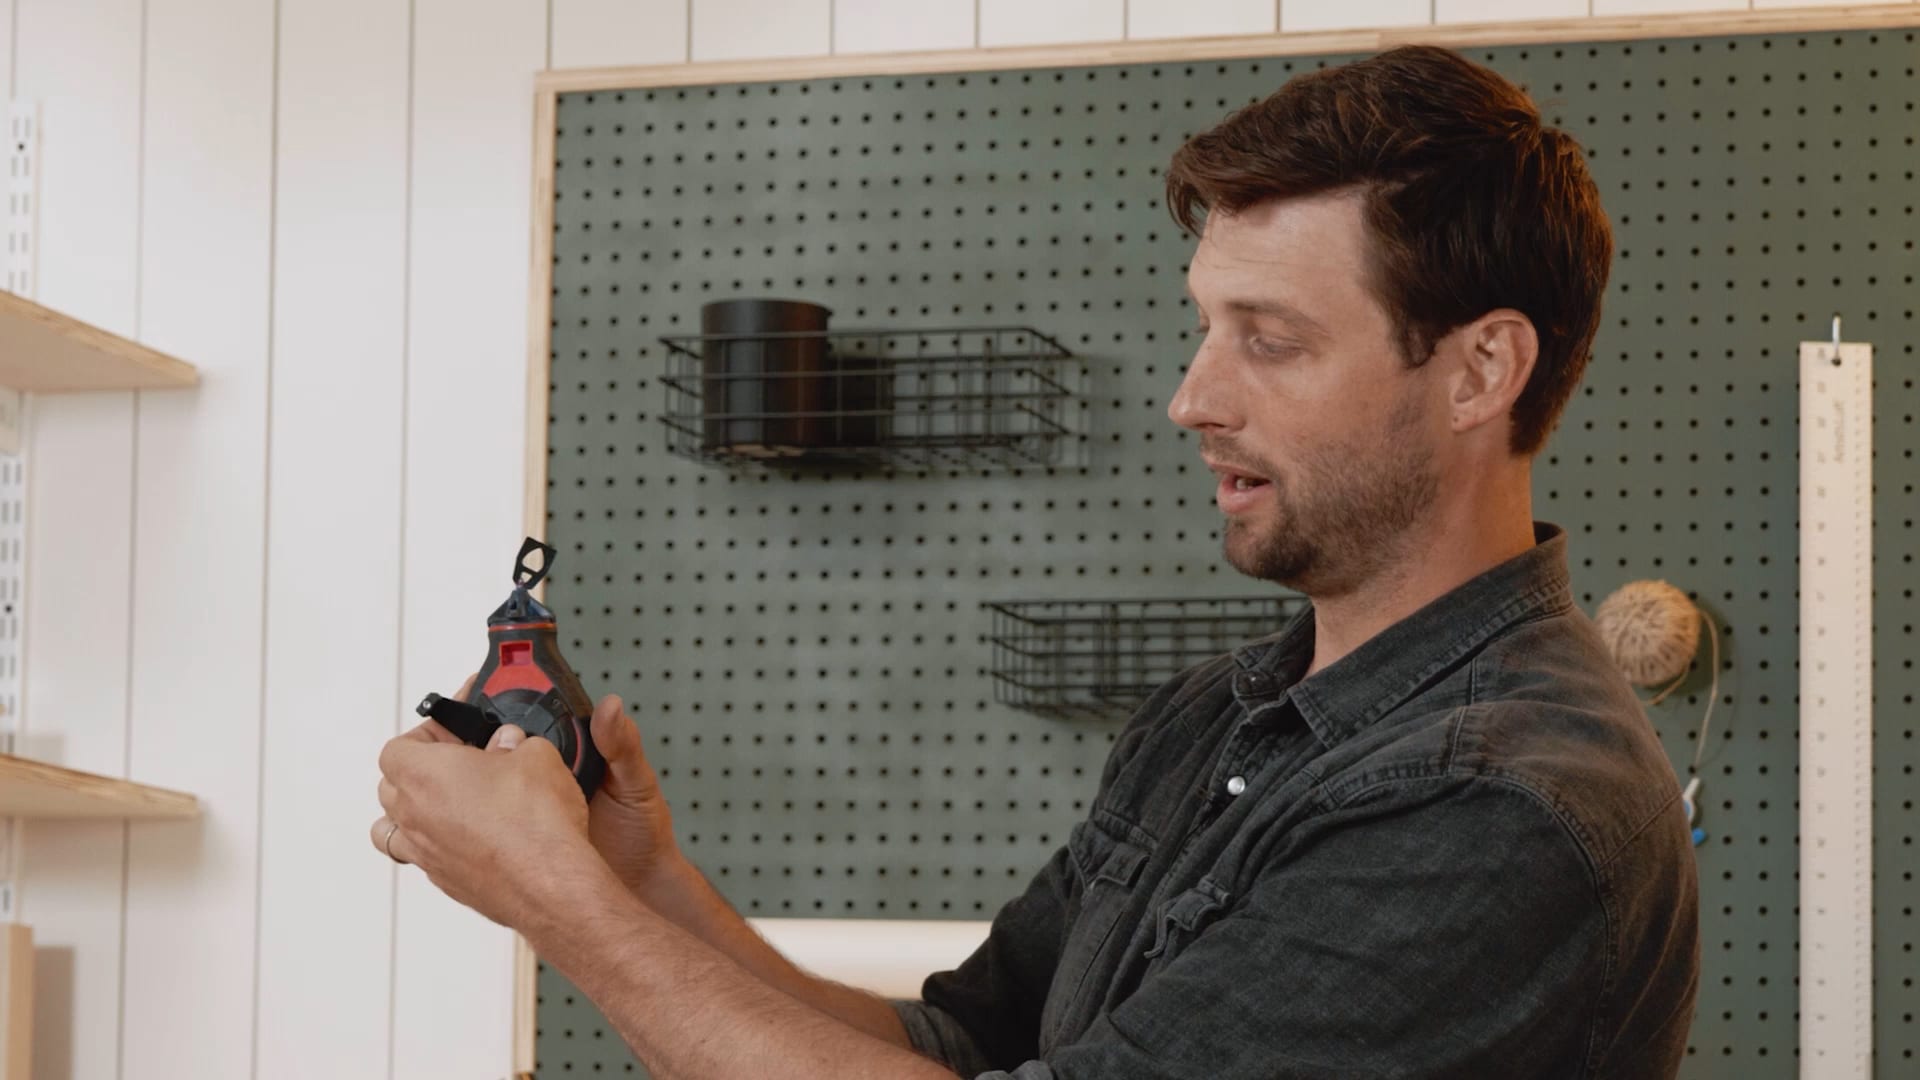
A chalk line is only one of the essential tools you’ll need on a construction site. Learn more about the most important construction hand tools—and how to use them safely—in MT Copeland’s online Hand Tools class, taught by professional builder and craftsman Jordan Smith.
How to fill a chalk line
Most chalk line tools will come with a pack of chalk but you will have to fill the chalk box yourself as well as refill. It is possible to overfill, but nothing problematic happens other than a lot of chalk will come out when you first use the tool and might be a little messy. Some tools will have a fill line on the chalk box but generally a little over halfway is going to be plenty of chalk to do the job.
Step 1
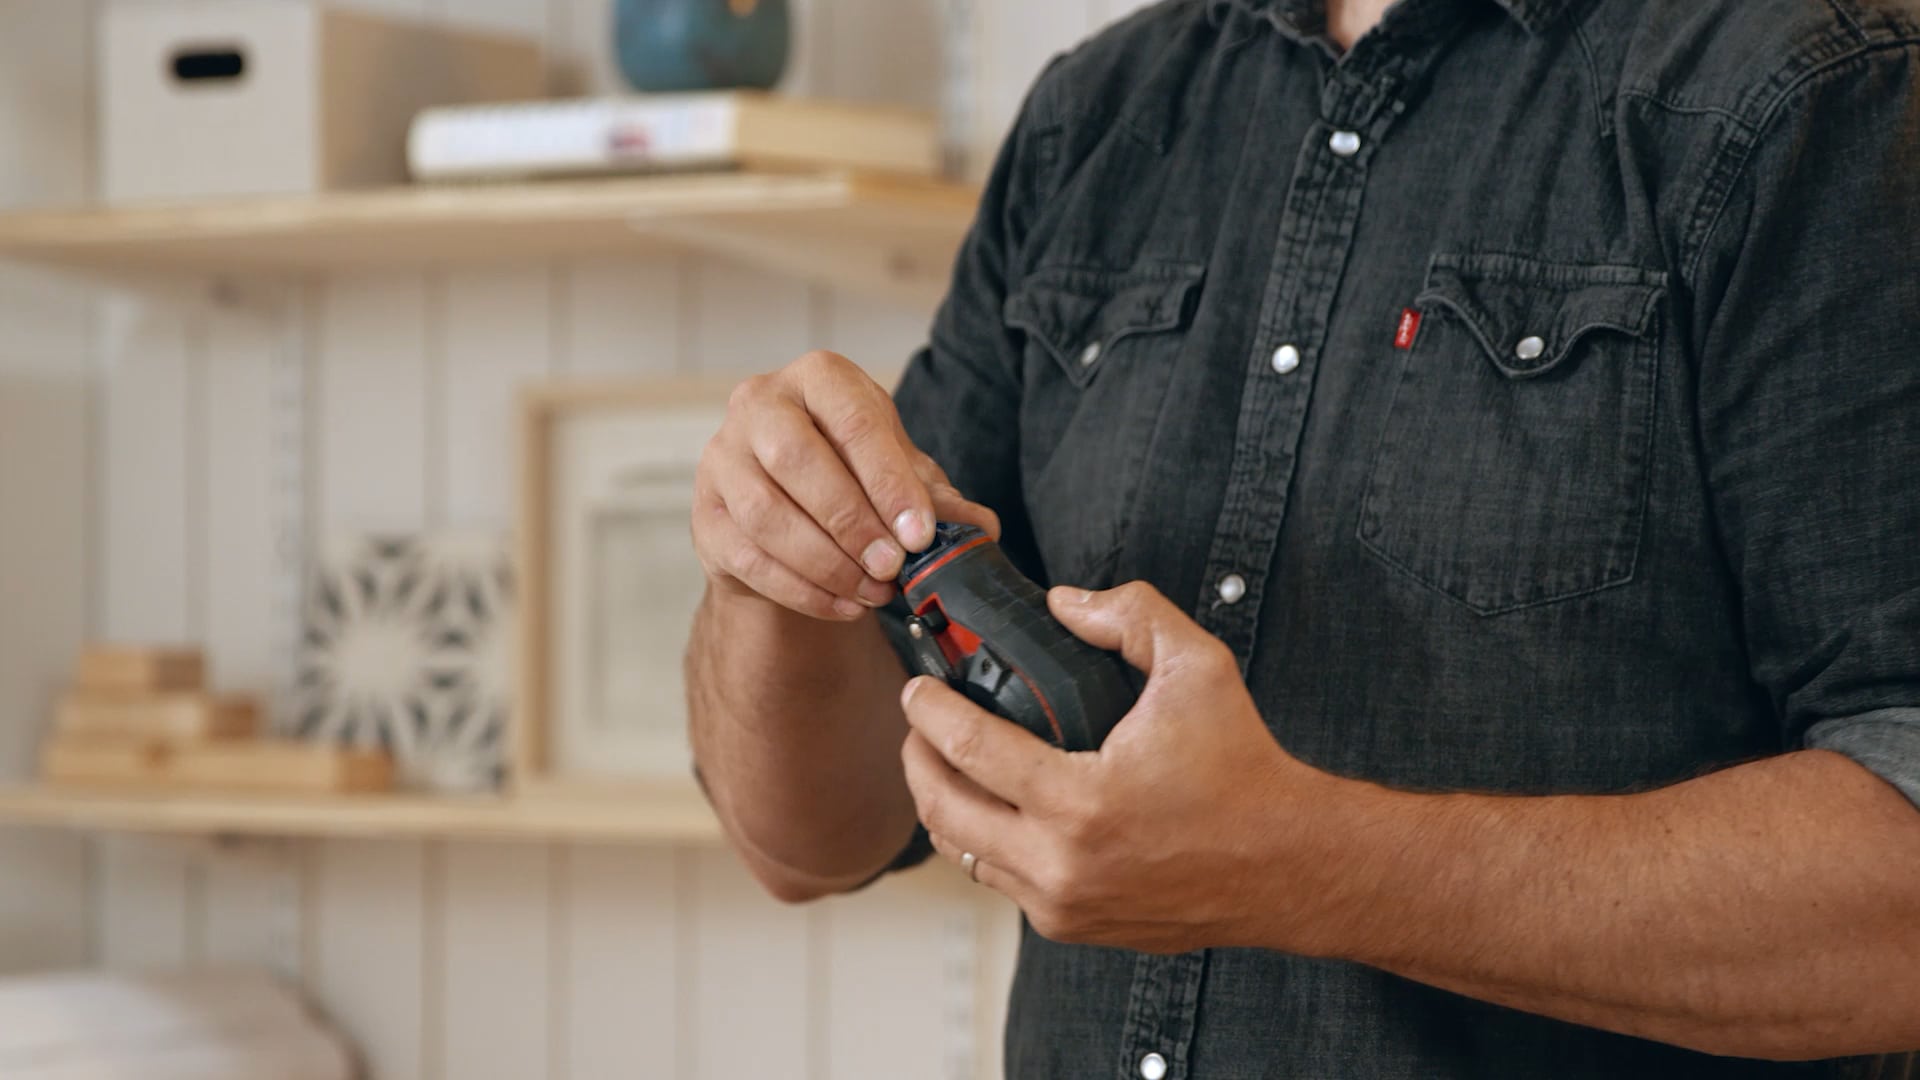
Twist off the cap on the end of the tool where the string extends and retracts.
Step 2
Pour in the chalk and tap the bottom of the tool against your hand or a table top to help the chalk settle. Repeat this step until the tool is full.
Step 3
Once full, extend the line as far as it will go and then wind it back in. Give the chalk line a shake, and repeat a few times to evenly coat the entirety of the line.
Tips and tricks for using a chalk line
- This tool is best kept in a pocket on your toolbelt for easy access if you are primarily working with wood.
- Jordan recommends a geared chalk line so that when you turn the handle to retract the line, you pull in a greater length of line with each turn.
- Push the button where the handle attaches to the body to disengage the handle while you extend the line to keep the handle from spinning freely. You can also use this button after you have retracted the line to get the handle tucked back into place.
- There are many types of chalk to choose from to create different snap lines with the main two factors being visibility and permanence. If you want the mark to clean up easily, stay low on the permanence scale like the blue chalk Jordan uses which is a 1 out of the 4 levels of permanence. You can choose a fluorescent chalk for greater visibility, or a white chalk for a simple and inexpensive option.
- Don’t use the same chalk line for different colors of chalk. If you need to keep a high permanence and a low permanence chalk on hand, buy individual tools for each color and do not mix.
- There are surfaces where a chalk line will not work to draw straight lines. For example on fence, foundation, porch building, exterior projects. For these cases you will need to use a regular line. This type of line reel is another tool any builder should have in their tool bag.
MT Copeland offers video-based online classes that give you a foundation in construction fundamentals with real-world applications. Classes include professionally produced videos taught by practicing craftspeople, and supplementary downloads like quizzes, blueprints, and other materials to help you master the skills.


