The dowel joint is one of the most simple (at least in appearance and theory) joints a woodworker or carpenter can make. By drilling a few holes and inserting a few pegs, dowel joints can form strong joints without mechanical fasteners like nails and screws. But this method is somewhat old-school and not as popular today, so you might be asking, “what is a dowel joint?” Keep reading to find out.
What is a Dowel Joint?
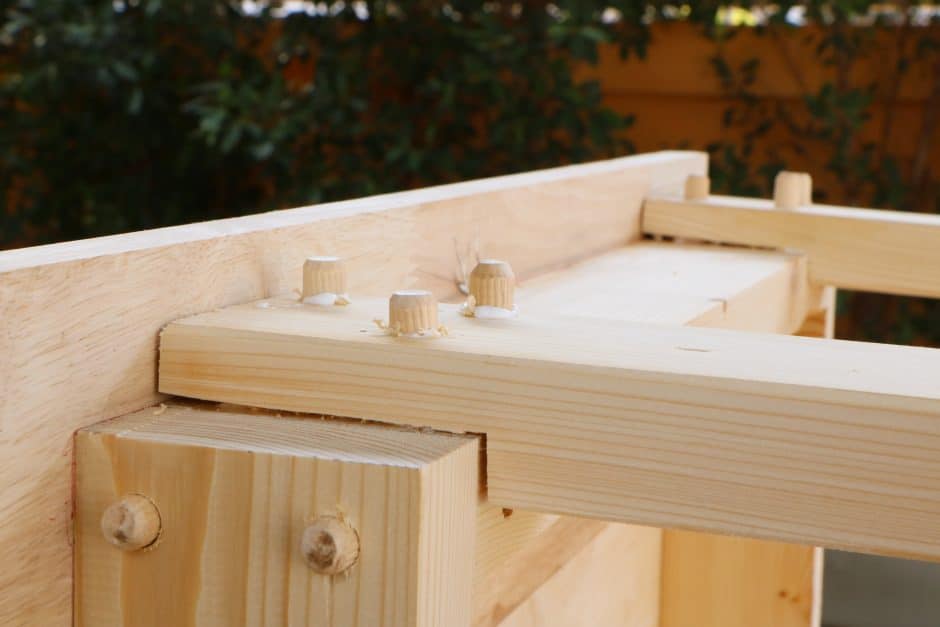
A dowel joint, or doweling, is a type of joint used to connect two pieces of wood by drilling dowel holes in each piece and using a wooden peg (the dowel) to attach them. The dowels act somewhat like a mechanical fastener, as they bridge between the two boards and hold things together. They also swell when covered with wood glue, locking the joint in place. They’re invisible once assembled.
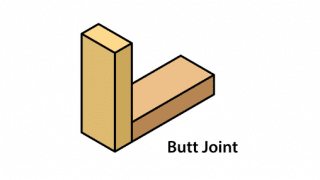
Dowel joints are strong, and the dowels themselves increase the glue surface by quite a bit. They also make use of each board’s long grain rather than simply the end grain at the end of a butt joint.
In most cases, the dowels are made from wood, whether hand-carved or store-bought, and they come in specific thicknesses. Fluted dowels have spiral indentations, and they swell by quite a bit when they come in contact with glue. There are plastic and metal dowels, but they’re generally for adjustable shelving construction.
The projects where you’ll most likely see dowel joints are woodworking and cabinetmaking. The dowels are excellent at securing butt joints for cabinet doors or aligning two boards for a flat edge joint, such as a tabletop. They’re also useful for drawers, picture frames, and other projects where glue alone might not be enough, but visible mechanical fasteners would derail the aesthetic.
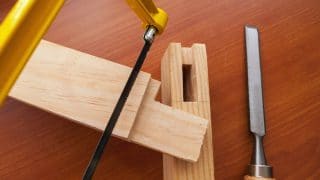
Dowel pins are common in mortise and tenon joinery, but that’s a different method altogether.
The Tools to Make Dowel Joints
Dowel joints sound simple, but when a woodworker, carpenter, or DIYer is making a wood joint, their work needs to be precise. There isn’t any slack in doweling, so the craftsperson needs to lay out the locations of the matching holes on each board exactly where they need to be. If they’re off by as much as 1/16th of an inch, the joint might not work. Luckily, there are specialized tools to make the job easier.
One method of making dowel joints is to use marking tools known as dowel centers. A dowel center is a round, button-like plug with one cylindrical side and one side with a pin. The cylinder fits inside a drilled hole while the pin marks the location of another. With careful alignment, the user can push this pin into the surface of the mating board, leaving a mark for a corresponding hole. The user can then drill the other hole and form the joint. Other than a combination square, sharp brad-point drill bits, and a drill (though a drill press is better), dowel centers are all that’s required.
Another method of making a dowel joint is to use a doweling jig. This dowel jig will fit over a workpiece, clamp into place, and guide the drill bit into the wood. The user can then transfer the jig onto another workpiece and drill the corresponding holes. Because these jigs guide the drill bit, a drill press isn’t necessary. A sharp brad point bit, a combination square, and a power drill will do the trick.
It’s possible to create a dowel joint without dowel centers or a doweling jig, but it takes painfully exact layout and a very steady, straight drilling hand.
How To Make a Dowel Joint
The easiest method for making accurate dowel joints is to use a doweling jig. These jigs will have removable sleeves, several holes for choosing the appropriate dowel size, or fixed hole sizes. In general, you want to choose a dowel that’s around ⅓ of the board’s overall thickness, so choose the appropriate hole size accordingly. So, for a 1×4, which is ¾ inches thick, a ⅜-inch dowel is best, so chose the ⅜-inch hole.
Note: The following steps will guide you through creating a corner butt joint for a cabinet door with dowels, but you can adjust them for straight butt joints or miter joints. For this article’s purpose, let’s assume our wood is 3/4-inch thick and 2 inches wide, but you can adjust those measurements for any board width or thickness. Also, it’s a good idea to try the following steps on pieces of scrap wood before drilling into your workpieces.
Tools and Materials
- Two pieces of wood of equal dimensions
- Pencil
- Combination square
- Doweling jig
- Sharp drill bit (the same diameter as dowels)
- Power drill
- Masking tape
- Dowels
- Wood glue
- Clamps
1. Lay out the Dowel Locations
The first step to making a dowel joint is to lay out the dowel locations. Place the two pieces of wood next to each as if they’re already assembled (form the corner). Be sure that the horizontal piece (the rail) butts up to the vertical piece (the stile). Holding the combination square approximately 1/2-inch down from the end of the stile, draw a line across the stile and onto the rail with a pencil. Move the combination square down one inch and draw another line. These lines represent the dowel locations.
2. Clamp the Doweling Jig in Place
Slide the doweling jig over the workpiece. All jigs have reference markers that you can use to align them. Carefully align the reference marker with one of the lines drawn in the last step and clamp the jig into place. For jigs with multiple holes, be sure you’re lining up the jig with the correct hole.
3. Drill the Hole
Choose the drill bit that matches the diameter of the dowels you intend to use and clamp it in your drill. Most jigs have depth gauges that you can set to prevent from drilling too deeply, but you can also use a piece of masking tape wrapped around the bit as the marker. With the depth set, place the bit in the appropriate guide, squeeze the drill’s trigger, and drill the hole.
4. Repeat
Loosen the clamp and move it to the next hole, again, being careful to align the reference mark on the jig carefully. Drill holes and move the jig to the next location until all of the holes are drilled.
5. Test Fit the Joint
Before final assembly, it’s critical that you test fit the joint (known as dry fitting). It should be snug but shouldn’t require force, and the dowels should reach into each board sufficiently. The joint should also be flush and tight without gaps, and dowels shouldn’t be visible.
If you drilled too deeply, cut a small plug off of a spare dowel and place it in the hole. If you didn’t drill deep enough, set up the jig and drill deeper. There needs to be a little bit of room in the end of each hole for glue, but not so much that the dowel slides around sloppily.
6. Glue and Clamp the Joint
Squeeze a bit of wood glue into the holes. Insert the dowels into one board before sliding the two boards together. Use clamps to hold the joint together until it dries.
MT Copeland offers video-based online classes that give you a foundation in construction fundamentals with real-world applications, like introduction to cabinetry. Classes include professionally produced videos taught by practicing craftspeople, and supplementary downloads like quizzes, blueprints, and other materials to help you master the skills.


