Woodworking is an important part of any contractor’s job, whether you specialize in carpentry or offer general services to clients. Using pocket holes to screw together two sides of a joint is an effective technique that comes with a number of benefits, including saving time and effort without sacrificing quality.
What is pocket hole joinery?
A pocket hole is a form of joinery that creates a tight bond between two pieces of wood without using glue. The screw is drilled in at a 15-degree angle. But first, a pocket hole is drilled into to create the perfect entry angle for the screw. The hole for the screw allows the head to lay flush within the pocket hole and the two pieces of wood are held securely together without needing wood glue. Pocket holes can be used with all types of wood and only requires a few specialized tools to get the job done.
Where are pocket holes commonly used?
Pocket holes are often used in building furniture, cabinets, decks, stairs, and other carpentry projects. This process offers several benefits.
- A fast process. With the right tools on hand, pocket hole screws are quick and easy to install in any woodworking project.
- A strong hold. The angle of the pocket holes provides a strong bond between the two pieces of wood. That’s why this technique is popular in structural projects like stairs and decks.
- Avoid splitting wood when drilling in screws. Pocket hole screws come with self-drilling tips, so you’re less likely to split the wood when screwing them in. Just be sure not to drill too close to the edge of the wood to create the strongest bond possible.
- Only need one clamp. In most cases, you’ll only need one clamp to keep the two boards together while drilling. Use a clamp with a pointed end to fit directly into one of the pocket holes.
- Avoid dry time for glue. Pocket hole joints are permanent, so there’s no need to use wood glue. This saves you time overall because you don’t have to wait for pieces to dry before moving onto the next step of the project.
Tools needed to make pocket holes
Here’s what you’ll need for pocket hole joinery.
- Pocket hole jig or Kreg jig. These specialized jigs serve as a guide in creating the perfect angle for pocket holes. They’re adjustable so you can use them with any size of wood.
- Step drill bit. Along with a pocket hole jig, you’ll need a step drill bit. It’s designed to get increasingly larger as you continue to drill, ultimately creating the pocket shape. It also has an adjustable stop collar to set the bit depth. Most pocket hole jigs come with this drill bit, but it’s good to have replacements on hand, especially if you’re working on a large project.
- Pocket hole screws. These come in two varieties, coarse or fine. Coarse pocket hole screws are best for softwoods, while fine pocket hole screws are designed to be used with hardwoods. You can also choose between two types of screw heads: washer heads, which are used for thicker boards, while pan screws are used for thinner boards that are ½ thick or less.
- Clamps. Choose the right clamp based on the angle of your wood joints. If you’re joining two pieces of wood together at a 90-degree angle, then you’ll want to use a right-angle clamp.
How to make pocket holes
Follow these 5 steps for creating a pocket hole.
- Position the pieces of wood together. Pocket hole joinery can be used on two out of three sides of a piece of wood. You can drill a hole in the face and edge grains; however, you can’t put a pocket screw in the end grain. That means pockets holes can be used to expand the width of a woodworking project, but not the length.
- Adjust the jig and stop collar. Set your jig to the appropriate thickness for the wood you’re working with. Then check the stop collar to the correct thickness for the wood as well.
- Drill the pocket holes. Clamp the wood in the jig to drill the holes first. For a clean pocket hole, use the highest speed setting on your drill.
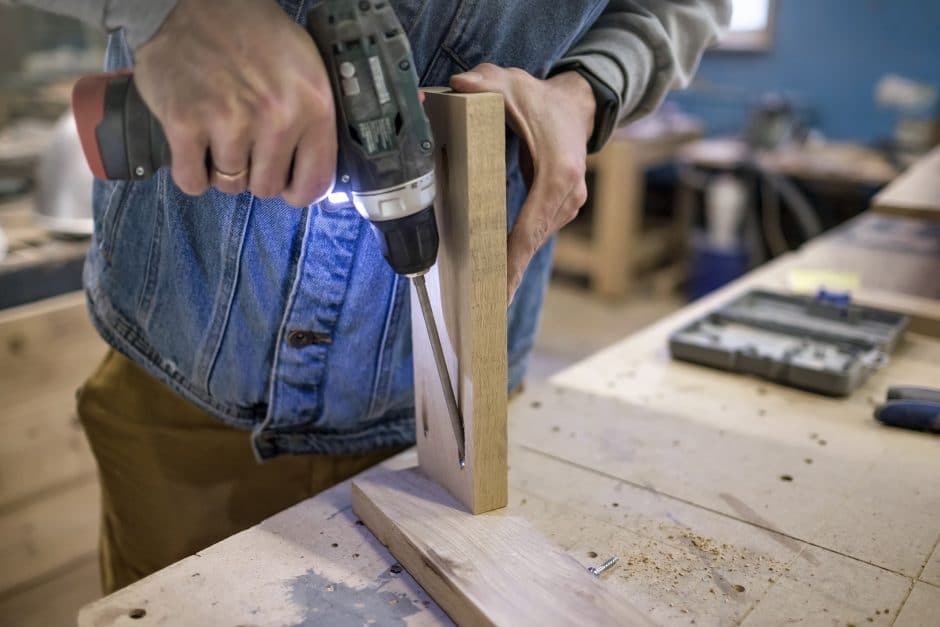
- Clamp joining pieces of wood together. Once your holes are drilled, it’s time to screw the pieces of wood together. Before you do that, you need to clamp the two pieces together so that they don’t shift while you’re drilling.
- Drill in the pocket screws. The final step is to drill the screws into the pocket holes. This completes the process and provides a strong bond between the pieces of wood.
MT Copeland offers video-based online classes that give you a foundation in construction fundamentals with real-world applications, like introduction to cabinetry. Classes include professionally produced videos taught by practicing craftspeople, and supplementary downloads like quizzes, blueprints, and other materials to help you master the skills.


