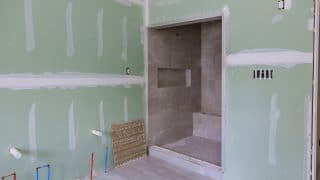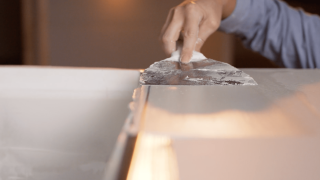
Drywall finishing is a multistep process that involves mudding, taping, and coating drywall boards to make the walls and ceilings look even. A handful of tools and materials create a professional drywall finish, such as the corner bead, which serves structural and aesthetic purposes.
What is drywall corner bead?
Drywall corner bead is an angled piece of trim installed along the length of outside wall corners, where two drywall boards meet. Corner bead is used in drywall finishing for two reasons: to stabilize and reinforce corners and to cover the visible seam between the two separate drywall boards, creating a seamless 90-degree angle.
Corner bead is typically only used on outside corners because it’s vulnerable to wear and tear. Although corner beads are used on inside corners, they aren’t necessary, since a simple paper tape installation will suffice.
3 Types of corner bead
Corner bead comes in a variety of materials and shapes for your finishing needs.
Metal
Metal is the most traditional type of corner bead. Metal corner bead is sturdy, so you can use it to cover up any flaws in the drywall board edges and create a crisp 90-degree angle, even if the drywall wasn’t hung perfectly straight. Out of all of the corner bead types, metal takes the longest to install because it’s thick and requires a lot of joint compound. Metal beads come in two shapes: square (90 degrees) and bullnose, which has a rounded edge for curved corners.
Paper-faced bead
There are two types of paper-faced bead: metal and composite.
- Paper-faced metal. This type has a metal core with a paper face and is a popular choice thanks to its rigidity and ease of installation. Paper-faced metal corner bead takes less time to install than traditional metal corner bead but isn’t as good for covering up flaws in the drywall. Paper-faced metal is available in square and bullnose shapes.
- Paper-faced composite. This type of paper-faced bead has a plastic core. It’s quick and easy to install and requires little mud because it’s so thin. Paper-faced composite shows flaws in the drywall board, so it’s best to use it when the drywall is hung perfectly straight. Paper-faced composite shapes include square, bullnose, and baby bullnose, a smaller version of bullnose.
Vinyl
Vinyl corner bead comes in the widest array of shapes, sizes, and styles. It also has an arch bead option, which has little notches on its sides that you can easily bend and shape to fit any trim size. There are several different ways to install vinyl corner bead, but the manufacturer-recommended way is to use a spray adhesive and then staple them to the drywall board.
How is corner bead installed?
Typically corner bead installation comes after taping, though some drywall finishers like to install corner bead first. It all depends on your preference. Here’s how to install various types of corner bead:
Metal corner bead
- Place the metal in the center of the corner so it covers both sides of the drywall boards evenly.
- Take a staple gun, pneumatic stapler, screw gun, or nail gun, and staple the corner bead down to the drywall board. Staple along the ribbed edges of the corner bead, not in the center, so it securely attaches to the drywall and doesn’t ruin the corner’s sharp look.
- Once the metal is installed, coating can begin. Metal typically takes three layers of joint compound to fully coat, so keep that in mind when buying supplies and accounting for time.
Paper-faced metal corner bead
- Coat the drywall corner with a thick-layer taping mud, covering the length of the corner.
- Line the corner bead up with the corner’s center and press it firmly into the mud.
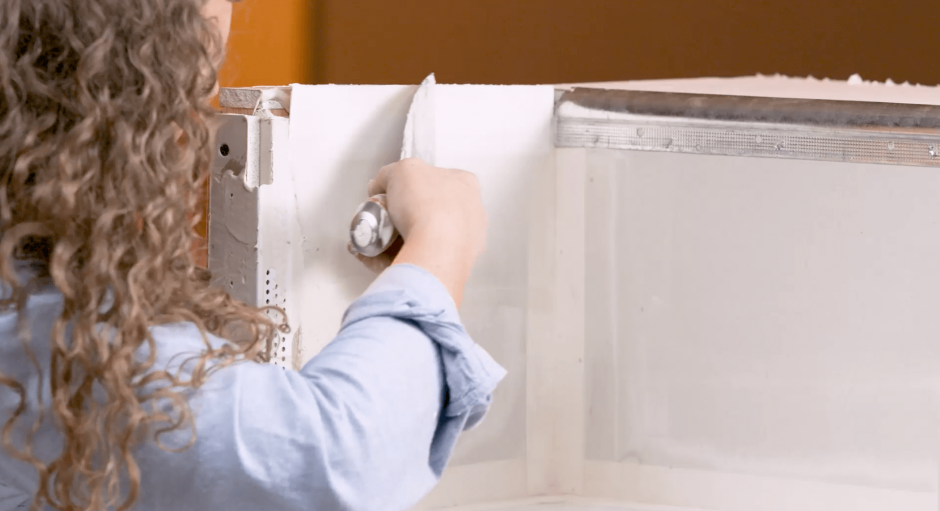
- Using a corner roller tool, roll across the center of the corner bead to secure it to the wall and squeeze out excess mud.
- Wipe away excess mud. Using a drywall knife, coat the paper tape with a layer of taping compound. Allow it to fully dry before the next coat.
Paper-faced composite corner bead
- Coat the drywall corner with a thick-layer taping mud, covering the length of the corner.
- Line the corner bead up with the corner’s center and press it firmly into the mud.
- Using a drywall knife, wipe away excess mud.
- Wait for the corner bead to dry before coating it with a thin layer of taping compound.
Vinyl corner bead
- Spray the drywall corner with a spray adhesive, making sure the area’s fully covered.
- Spray the inside of the vinyl corner bead.
- Attach the vinyl to the drywall corner and press it in it for several seconds to ensure it’s secure.
- Load a staple gun with T50 staples and staple the vinyl into the drywall. Because vinyl is thinner than metal, it requires smaller staples; large thick staples will punch through the vinyl.
- Once the vinyl is firmly attached to the drywall, you can begin coating. Vinyl typically requires one or two coats of mud.
MT Copeland offers video-based online classes that give you a foundation in construction fundamentals with real-world applications, like working with drywall. Classes include professionally produced videos taught by practicing craftspeople, and supplementary downloads like quizzes, blueprints, and other materials to help you master the skills.

