Whether you’re interested in classic designs or something eclectic, there’s a tile option out there for everyone. One traditional pattern that has stood the test of time is the herringbone pattern. This arrow-shaped pattern continues to be one of the most popular tile patterns today.
What is a herringbone tile pattern?
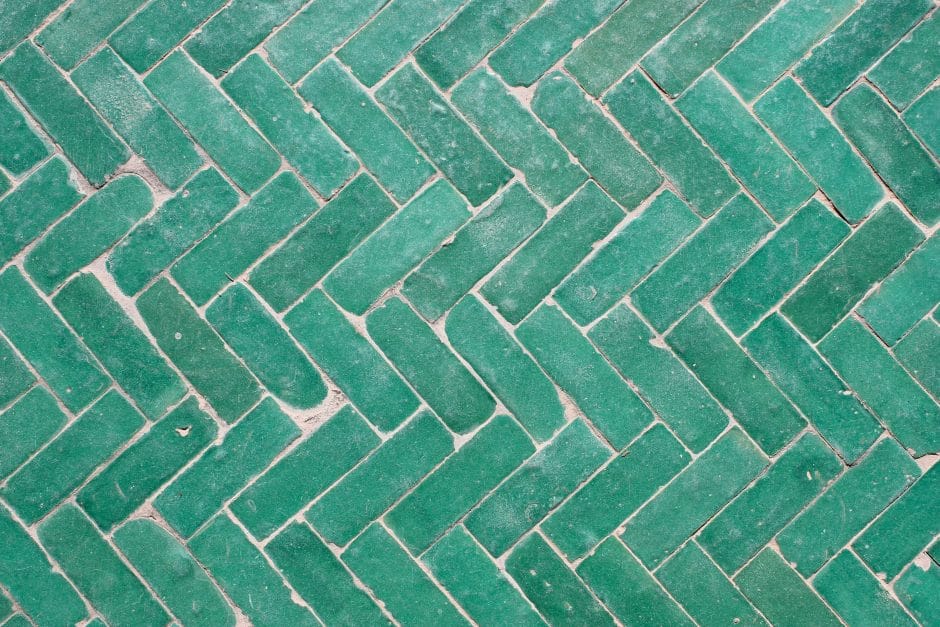
Herringbone tile consists of rectangular tile pieces laid at 45-degree angles in V-shaped patterns. Instead of precise angles, herringbone tiles are offset and slightly mismatched, which creates an arrow-like pattern.
The herringbone pattern dates back to the Roman Empire, which made roads from materials like brick or stone using this pattern. It came back around in 17th- and 18th- century Europe, where herringbone and chevron styles were featured on parquet floors.
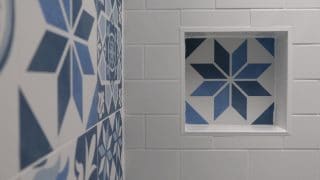
Herringbone’s name derives from the herring fish’s skeleton, whose bones have sharp diagonal lines. In tiling, this versatile pattern works on decorative home features from kitchen backsplashes to shower walls and bathroom floors. Its vertical angles have visual depth, which can lengthen the look of a space. Plus, its layout creates a dynamic effect that easily draws the eye in.
Types of herringbone patterns
There are two types of herringbone patterns that you will encounter: single and double.
Single tile
The most traditional and common herringbone style uses one rectangular tile per diagonal. This creates an intricately detailed effect that highlights the pattern and the grout lines. Single-tile herringbone works well in large or small spaces.
Double tile
A bolder variation on the classic style, the double-tile herringbone style pairs two rectangular tiles per diagonal. This emphasizes the arrow and makes for a more dramatic layout.
Double tile is best for larger areas like the length of a shower wall or tile floors, as it requires more space for the pattern.
How to lay tile using a herringbone pattern
Laying a herringbone pattern is easy with the right materials, tools, and some patience. Here are the tools you’ll need:
- Trowel
- Tape measure
- Grout float
- Pencil and pen
- Tile spacers
- Tile cutter
Here’s how to tile a herringbone pattern from start to finish.
- Find the starting point. If you’re tiling a floor, you’ll need to find the center point of the room, then work toward the walls to achieve a centered zig-zag. To find the center point, measure the length of the room and lay a piece of string at the halfway point. Repeat this step for the width. The spot where the strings intersect is the center. When laying wall tile, start from the center of the base of the wall and work your way up.
- Lay the tiles. This will show you where to make cuts and give you a sense of the whole pattern. If you’re laying wall tile, you can tape the tiles up. To create a herringbone pattern, start at the center point and divide it in half vertically, marking the line with a pencil. Place a rectangular tile at a 45-degree angle, so its corner touches the line. Place another rectangular tile at a 45-degree angle above it to make a V. There should be a small triangular space between the tiles. Continue arranging the pattern vertically, staggering each rectangular tile to create mismatched arrows. Once the pattern’s complete, mark border tiles to cut.
- Cut the marked tiles. Using a tile cutter, line the tile up in the center of the cutter rails, then pull down the lever so it’s held in place. Slide the lever along the length of the tile to guide the blade wheel and slice the tile. Reverse the wheel and go over the tile once more to ensure a clean cut. Do this for all marked tiles so they’re ready for placement.
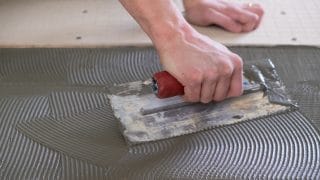
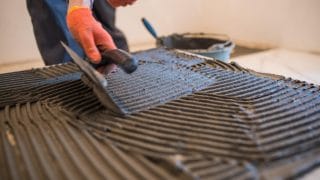
- Apply tile adhesive with a trowel. Consider using a slow-drying adhesive like thinset mortar, so you have more time to lay and adjust the pattern.
- Set the tiles. Lay the herringbone pattern like before but with cut tile. The leftover triangular pieces will fit into empty spaces along the edges. The good thing about installing herringbone tile is that all the pieces––rectangular and triangular––can be mixed and matched.
- Place tile spacers between the tiles. This small important step ensures there’s room for grout between the tiles and that spaces between the tiles are even. Uneven grout lines can be noticeable and hard to fix once adhesive sets.
- Remove tile spacers and grout when the adhesive sets. The type of grout you need will depend on the tile. Use a grout float to spread the grout evenly, making sure to fill all the gaps. Once the grout dries, sponge off any excess and gently clean the tile with soap and water.
MT Copeland offers video-based online classes that give you a foundation in construction fundamentals with real-world applications, like drywall finishing. Classes include professionally produced videos taught by practicing craftspeople, and supplementary downloads like quizzes, blueprints, and other materials to help you master the skills.

